Fingerling potatoes, with their unique shape and rich flavor, are a favorite among home gardeners and professional chefs alike. These small, slender potatoes are not only delicious but also easy to grow, making them an excellent choice for both novice and experienced gardeners.
In this guide, we will delve into everything you need to know about growing fingerling potatoes, from choosing the right variety to harvesting and storing your crop. Let’s get started!
Understanding Fingerling Potatoes
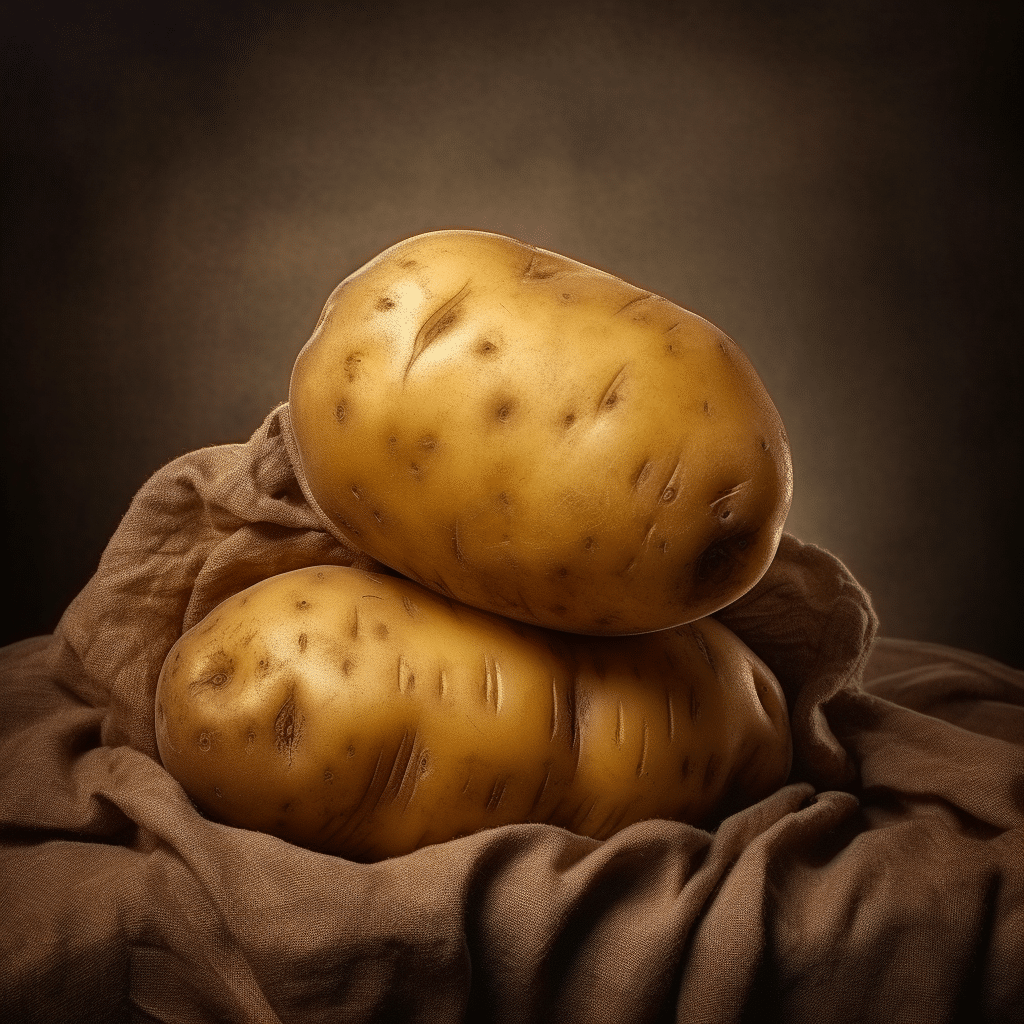
Fingerling potatoes are a type of potato known for their finger-like shape and small size. They come in a variety of colors, including yellow, red, and purple, and are known for their waxy texture and rich flavor.
Unlike other types of potatoes, fingerlings are harvested when they are fully mature, which gives them their distinctive flavor and texture. They are also less common than other types of potatoes, which can make them a bit more expensive to buy in the store.
Health Benefits of Fingerling Potatoes
Fingerling potatoes are not just tasty; they are also packed with nutrients. According to the USDA, a serving of fingerling potatoes provides a good source of vitamin C, potassium, and dietary fiber.
Additionally, fingerling potatoes are low in fat and cholesterol, making them a heart-healthy choice. They also contain antioxidants, which can help protect your body from harmful free radicals.
Selecting and Planting Fingerling Potatoes
Now that we understand what fingerling potatoes are and their health benefits, let’s move on to how to grow them. The first step in growing fingerling potatoes is selecting the right variety and planting them properly.
There are many varieties of fingerling potatoes to choose from, each with its own unique flavor and texture. Some popular varieties include the Russian Banana, French Fingerling, and Purple Peruvian.
Choosing the Right Variety
When choosing a variety of fingerling potato to grow, consider your climate and soil conditions. Some varieties, like the Russian Banana, are more tolerant of cold weather, while others, like the Purple Peruvian, prefer warmer climates.
Also, consider the flavor and texture you prefer. For example, the French Fingerling has a creamy texture and a slightly sweet flavor, while the Purple Peruvian has a firmer texture and a nutty flavor.
Planting Your Potatoes
Once you’ve chosen your variety, it’s time to plant. Here’s a step-by-step guide on how to plant fingerling potatoes:
- Choose a location with full sun and well-drained soil.
- Prepare the soil by removing any rocks or debris and adding compost or well-rotted manure to improve fertility.
- Cut your seed potatoes into pieces, each with at least one eye.
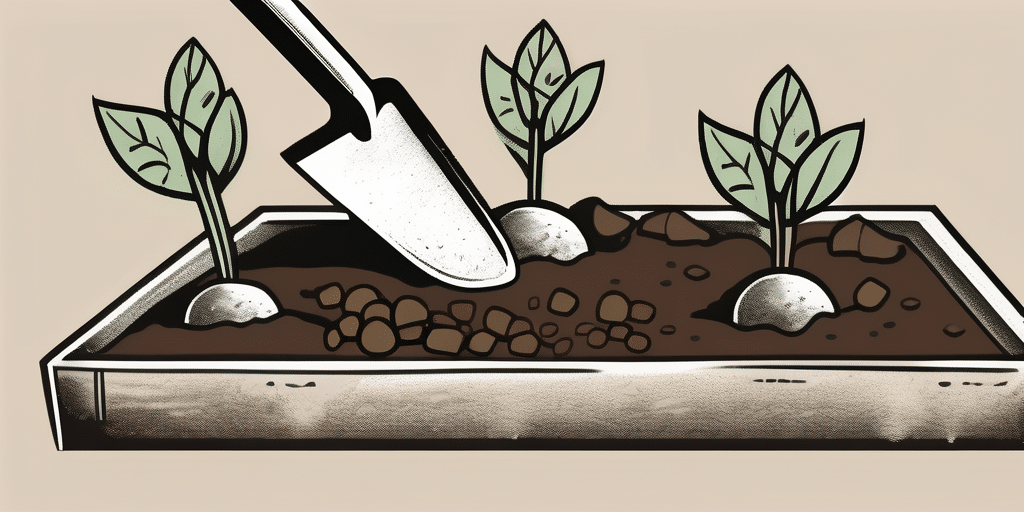
- Plant the seed pieces about 3 inches deep and 12 inches apart, with the eyes facing up.
- Cover the seed pieces with soil and water well.
Caring for Your Fingerling Potatoes
With your fingerling potatoes planted, it’s time to focus on care. Proper care is crucial to ensuring a healthy, productive crop.
Watering and Fertilizing
Fingerling potatoes need regular watering, especially during dry periods. However, be careful not to overwater, as this can lead to rot.
As for fertilizing, a balanced fertilizer applied at planting and again when the plants begin to flower can help promote healthy growth. According to the University of Maine Cooperative Extension, a 10-10-10 fertilizer is a good choice for potatoes.
Pest and Disease Control
Like all plants, fingerling potatoes can be susceptible to pests and diseases. Common pests include the Colorado potato beetle and aphids, while common diseases include late blight and scab.
Regular inspection of your plants can help you catch any problems early. If you notice any signs of pests or disease, consult your local extension service for advice on treatment options.
Harvesting and Storing Fingerling Potatoes
After months of care, it’s finally time to harvest your fingerling potatoes. But how do you know when they’re ready? And how should you store them to ensure they stay fresh as long as possible?
When to Harvest
Fingerling potatoes are typically ready to harvest about 70 to 90 days after planting, depending on the variety. You’ll know they’re ready when the plants begin to yellow and die back.
To harvest, simply dig up the potatoes with a garden fork or trowel, being careful not to damage them. Brush off any excess soil, but don’t wash them until you’re ready to use them.
Storing Your Harvest
Proper storage is key to keeping your fingerling potatoes fresh. Here are some tips for storing your harvest:
- Store your potatoes in a cool, dark, well-ventilated place.
- Don’t store potatoes near apples or onions, as these can cause them to sprout prematurely.
- Check your stored potatoes regularly and remove any that show signs of rot or sprouting.
With proper care and attention, you can enjoy your homegrown fingerling potatoes for months after harvest. Happy gardening!
Join Our Green-Thumbed Community!
Ready to take your gardening skills to the next level? Subscribe for free to How to Grow Everything and learn how to build the garden of your dreams! Receive personalized gardening advice tailored to your location, grow zone, and experience. Enjoy the best gardening tips, special offers, and deals delivered straight to your inbox. Join our family of passionate gardeners and grow your knowledge with our thousands of free articles. No spam, just pure gardening gold. Subscribe now and let’s grow together!

