Growing your own Cherry Bomb peppers can be a rewarding experience. These vibrant, spicy peppers are perfect for adding a kick to your culinary creations. But to get the most out of your pepper plants, you need to know when and how to transplant them. Transplanting is a crucial step in the gardening process that can significantly impact the health and yield of your plants.
Understanding the Life Cycle of Cherry Bomb Peppers
Before we delve into the specifics of transplanting, it’s essential to understand the life cycle of a Cherry Bomb pepper plant. This knowledge will help you determine the best time to transplant your peppers.
Cherry Bomb peppers, like all pepper varieties, go through several stages of growth. They start as seeds, sprout into seedlings, grow into mature plants, flower, and finally produce fruit. Each stage has its own requirements for light, water, and nutrients.
From Seed to Seedling
Cherry Bomb peppers typically take between 7 to 14 days to germinate. During this time, they need a warm, moist environment. Once the seedlings emerge, they require plenty of light to continue growing. It’s during this stage that you’ll first consider transplanting.
According to the University of California’s Division of Agriculture and Natural Resources, pepper plants should be transplanted when they have at least two sets of true leaves. This is usually about 6 to 8 weeks after sowing.
Mature Plant Stage
After transplanting, your Cherry Bomb peppers will continue to grow and mature. This stage can last several months, depending on the growing conditions. During this time, the plants will develop a strong root system and begin to produce flowers.
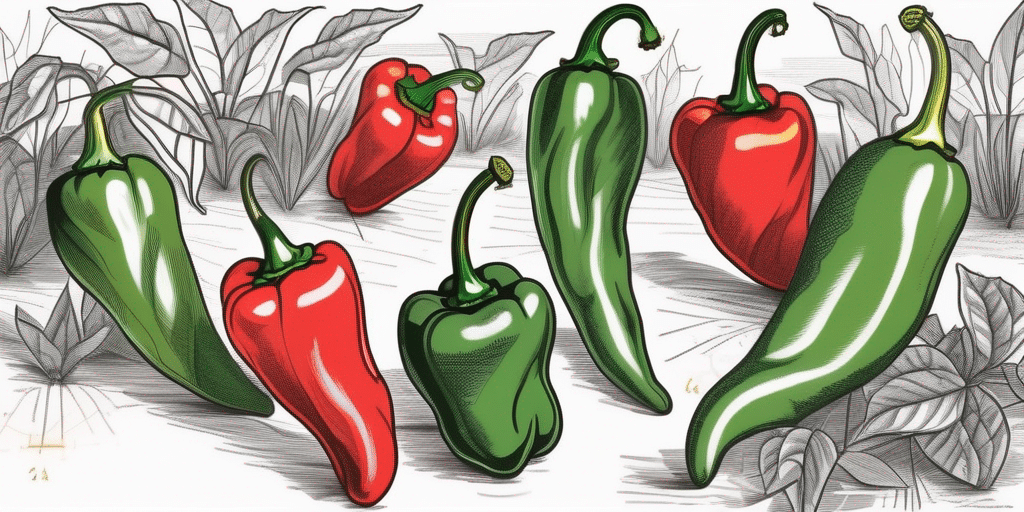
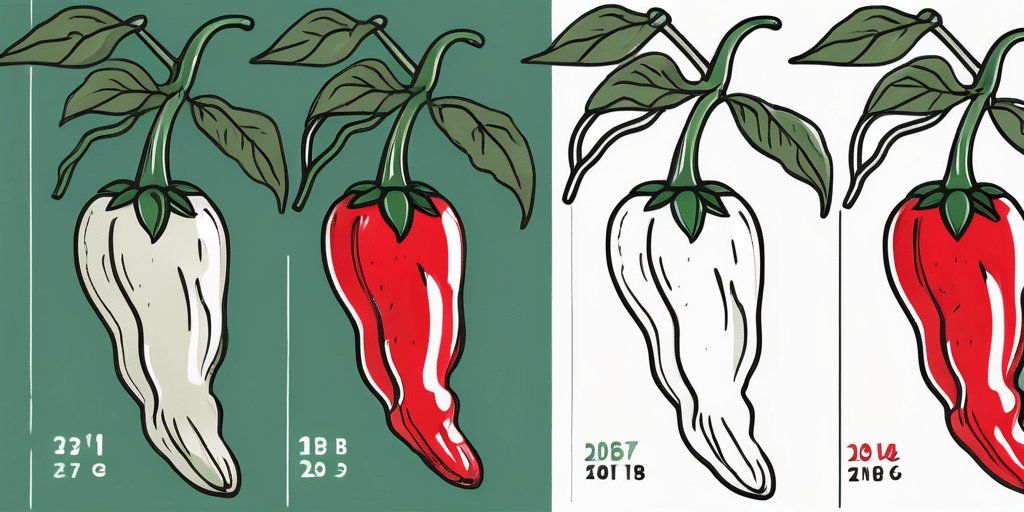
Once the flowers are pollinated, they’ll start to develop into peppers. The peppers will start off green and gradually turn red as they ripen. This is the final stage of the plant’s life cycle, and it’s when you’ll be able to harvest your peppers.
How to Transplant Cherry Bomb Peppers
Now that you understand the life cycle of Cherry Bomb peppers, let’s discuss how to transplant them. Transplanting is a delicate process that needs to be done with care to avoid damaging the young plants.
Here’s a step-by-step guide on how to transplant your Cherry Bomb peppers:
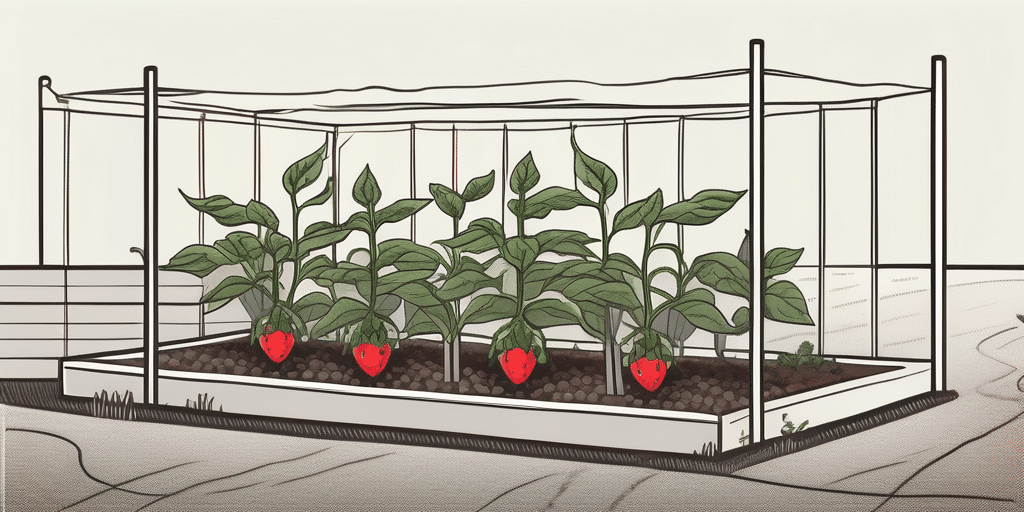
- Prepare the new planting area: Before you start transplanting, you need to prepare the new planting area. This should be a sunny spot with well-draining soil. Add compost or organic matter to improve the soil’s fertility and water-holding capacity.
- Water the seedlings: Water the seedlings thoroughly a few hours before transplanting. This will make it easier to remove them from their current containers without damaging the roots.
- Remove the seedlings: Carefully remove the seedlings from their current containers. Try to keep as much of the original soil around the roots as possible.
- Plant the seedlings: Dig a hole in the new planting area that’s large enough to accommodate the seedling’s root ball. Place the seedling in the hole and backfill with soil. The top of the root ball should be level with the soil surface.
- Water the transplants: After planting, water the transplants thoroughly. This will help settle the soil around the roots and reduce transplant shock.
When to Transplant Cherry Bomb Peppers
The timing of transplanting is just as important as the process itself. Transplanting at the wrong time can stress the plants and reduce their yield.
As mentioned earlier, Cherry Bomb pepper plants should be transplanted when they have at least two sets of true leaves. This is usually about 6 to 8 weeks after sowing. However, the timing can also depend on the outdoor conditions.
Temperature Considerations
Pepper plants are sensitive to cold temperatures. According to the USDA, the ideal soil temperature for transplanting peppers is between 60°F and 85°F. If the soil temperature is below 60°F, the plants may experience stunted growth or even die.
Therefore, you should wait until the danger of frost has passed before transplanting your Cherry Bomb peppers outdoors. If you live in a region with a short growing season, you can start your seeds indoors and transplant them outside once the weather warms up.
Daylight Considerations
Cherry Bomb peppers need plenty of sunlight to grow and produce fruit. They require at least 6 to 8 hours of direct sunlight each day. Therefore, you should transplant your peppers in a location that receives plenty of sunlight.
Keep in mind that the sun’s position changes throughout the year. A spot that gets plenty of sunlight in the spring may not get as much sunlight in the summer. Therefore, it’s important to observe your garden throughout the year to find the best spots for your plants.
Post-Transplant Care for Cherry Bomb Peppers
After transplanting your Cherry Bomb peppers, it’s important to provide them with the right care to ensure they grow and produce a good yield.
Here are some tips for post-transplant care:
- Water regularly: Pepper plants need a consistent supply of water. However, they don’t like waterlogged soil. Therefore, it’s important to water deeply but infrequently. The soil should be allowed to dry out slightly between waterings.
- Feed your plants: Pepper plants are heavy feeders. They benefit from regular feeding with a balanced fertilizer. You can also add compost or organic matter to the soil to provide additional nutrients.
- Monitor for pests and diseases: Regularly check your plants for signs of pests or diseases. If you notice any problems, treat them promptly to prevent them from spreading.
- Provide support: As the pepper plants grow, they may need support to prevent them from falling over. You can use stakes or cages to provide support.
With the right care and attention, your Cherry Bomb peppers will thrive and produce a bountiful harvest. Happy gardening!
Join the How to Grow Everything Community
Ready to take your gardening skills to the next level? Subscribe for free to How to Grow Everything and learn how to build the garden of your dreams! Receive personalized gardening advice tailored to your location, grow zone, and experience level. Enjoy the best gardening tips, special offers, and deals delivered straight to your inbox—100% free, from our family to yours. No spam, no tricks, just valuable insights to help your Cherry Bomb peppers, and all your garden projects, flourish. Become part of our growing community today!


