Growing Golden Bell Peppers from seeds can be a rewarding and delicious endeavor. This guide will walk you through the entire process, from seed selection to harvest. Let’s dive in.
Understanding Golden Bell Peppers
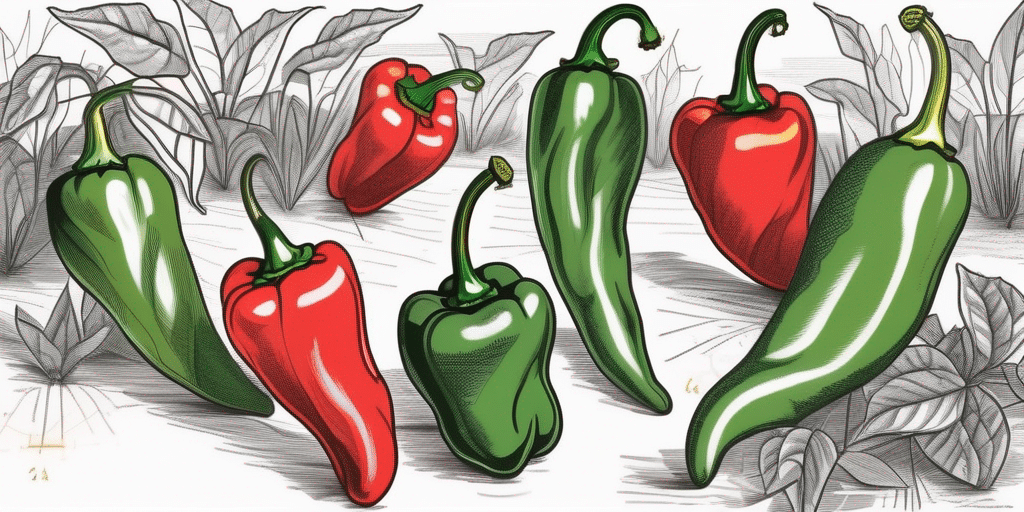
Golden Bell Peppers, also known as Yellow Bell Peppers, are a variety of Capsicum annuum. They are known for their sweet, mild flavor and vibrant yellow color. They are a great source of vitamins A and C, and they add a pop of color to any dish.
According to the USDA, bell peppers are a warm-season crop, meaning they thrive in temperatures between 70 and 85 degrees Fahrenheit. They also require full sun and well-drained soil to grow successfully.
Choosing the Right Seeds
When choosing seeds, it’s important to select a variety that is suited to your climate and soil conditions. Many garden centers and online retailers offer a wide range of bell pepper seeds, including Golden Bell Peppers.
According to the University of Minnesota Extension, it’s also crucial to ensure that the seeds are fresh and free from disease. Look for seeds that are firm and plump, with a shiny, dark color. Avoid seeds that are wrinkled or discolored, as these may not germinate properly.
Planting Your Golden Bell Pepper Seeds
Once you’ve selected your seeds, it’s time to start planting. Here’s a step-by-step guide to help you get started.
- Start your seeds indoors. Bell peppers need a long growing season, so it’s best to start your seeds indoors 8 to 10 weeks before the last expected frost date in your area.
- Prepare your seed trays. Fill your seed trays or pots with a good quality seed starting mix. This type of soil is specially formulated to promote seed germination and early growth.
- Plant your seeds. Place 2-3 seeds in each cell or pot, about 1/4 inch deep. Cover the seeds lightly with soil.
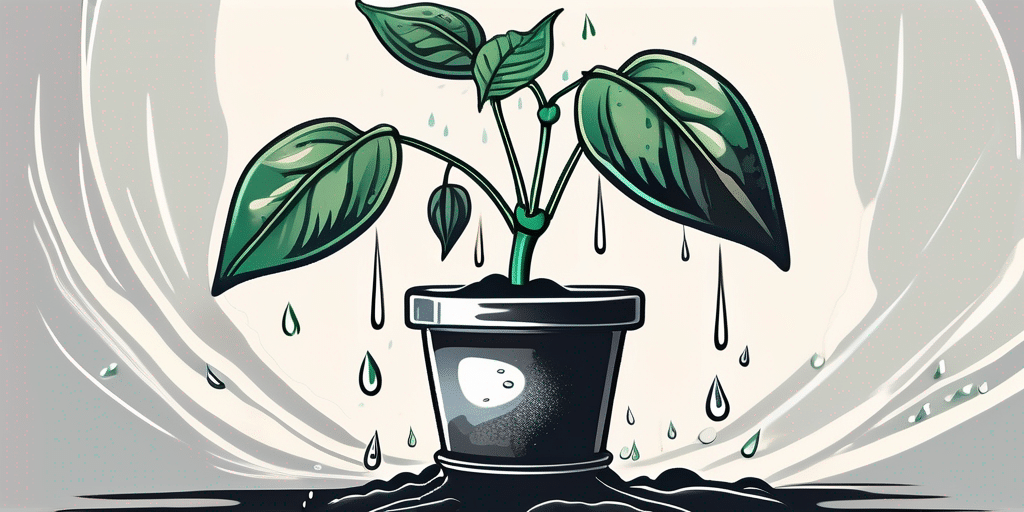
- Water your seeds. Keep the soil consistently moist, but not waterlogged. A spray bottle can be useful for this.
- Provide warmth. Place your seed trays in a warm location, such as the top of a refrigerator or near a radiator. The soil temperature should be between 70 and 80 degrees Fahrenheit for optimal germination.
- Wait for germination. Your seeds should sprout within 7 to 14 days. Once they do, move them to a location with plenty of light, such as a sunny window or under grow lights.
Remember, patience is key when growing plants from seeds. It may take a few weeks for your seeds to germinate and start growing, but the wait will be worth it when you see your first tiny pepper plants.
Caring for Your Golden Bell Pepper Plants
Once your seedlings have sprouted, they’ll need some care and attention to thrive. Here’s what you need to know.
Transplanting Your Seedlings
When your seedlings have 2-3 true leaves (the first leaves that look like pepper leaves), it’s time to transplant them into larger pots. This gives the plants more room to grow and develop strong root systems.
Choose a pot that’s at least 3-4 inches in diameter and has drainage holes. Fill the pot with a good quality potting mix, then make a hole in the center. Carefully remove the seedling from its original pot, being careful not to damage the roots. Place the seedling in the hole, then gently firm the soil around it. Water the seedling well after transplanting.
Feeding Your Plants
Pepper plants are heavy feeders, meaning they require a lot of nutrients to grow and produce fruit. According to the Penn State Extension, a balanced fertilizer with equal amounts of nitrogen, phosphorus, and potassium is best for pepper plants.
Start feeding your plants when they’re about 6 weeks old, and continue every 2-4 weeks throughout the growing season. Always follow the package instructions when applying fertilizer.
Harvesting Your Golden Bell Peppers
After all your hard work, it’s finally time to harvest your Golden Bell Peppers. Here’s how to do it.
- Wait for the right color. Golden Bell Peppers are ready to harvest when they’ve reached their full yellow color. This usually happens about 70-75 days after transplanting.
- Use a sharp knife or pruners. To avoid damaging the plant, cut the pepper off the plant rather than pulling it off.
- Store properly. After harvesting, store your peppers in the refrigerator. They’ll keep for about a week.
Remember, the more you harvest, the more your plant will produce. So don’t be shy about picking those peppers!
Common Problems and Solutions
Like any garden plant, Golden Bell Peppers can be susceptible to a few common problems. Here’s what to watch out for and how to deal with it.
Blossom End Rot
Blossom end rot is a common problem in peppers. It’s caused by a calcium deficiency and results in dark, sunken spots on the bottom of the fruit. To prevent it, make sure your plants are getting enough calcium and are watered consistently.
Pepper Maggots
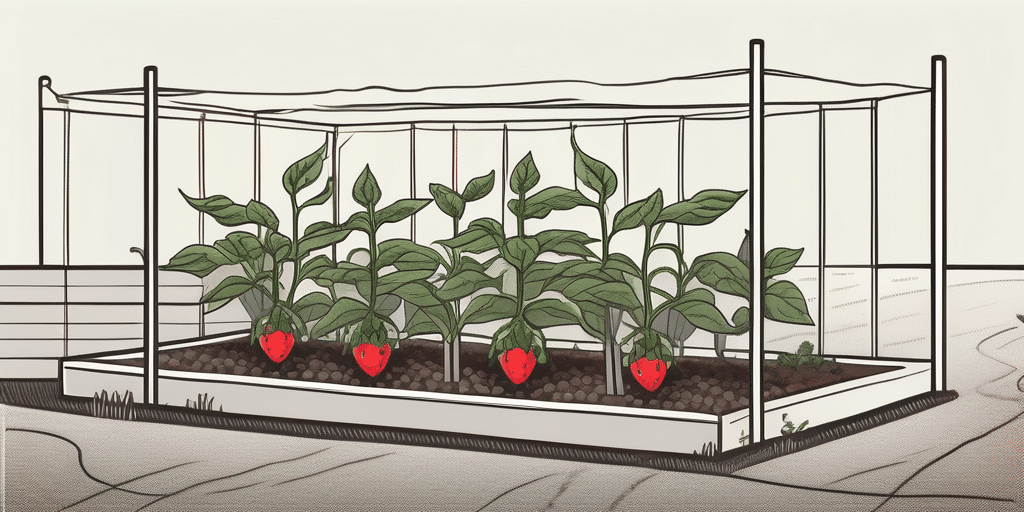
Pepper maggots are small, white larvae that burrow into the fruit of the pepper plant. They’re the offspring of the pepper maggot fly. To control them, use floating row covers or apply a spinosad-based insecticide.
Leaf Spot
Leaf spot is a fungal disease that causes dark spots on the leaves of the pepper plant. It can be controlled with a fungicide or by removing and disposing of infected leaves.
Conclusion
With a bit of patience and care, you can successfully grow Golden Bell Peppers from seeds. Whether you’re a seasoned gardener or a complete beginner, this guide should provide you with all the information you need to get started. Happy gardening!
Join Our Gardening Community
Ready to turn your green thumb into a golden one? Subscribe for free to How to Grow Everything and learn how to build the garden of your dreams! Receive personalized gardening advice tailored to your location, grow zone, and experience level. Enjoy the best gardening tips, special offers, and deals delivered straight to your inbox—100% free, from our family to yours. No spam, just the support you need to grow your Golden Bell Peppers and more. Let’s grow together!

