Pepperoncini, also known as Tuscan peppers, are a popular variety of chili pepper that are beloved for their mild heat and sweet flavor. They are a staple in Italian and Greek cuisine and are often pickled and used in salads, sandwiches, and pizza. Growing your own pepperoncini can be a rewarding endeavor, providing you with a fresh and flavorful ingredient for your culinary creations. In this guide, we’ll explore everything you need to know about growing pepperoncini, from selecting the right seeds to harvesting your peppers.
Understanding Pepperoncini
Before we dive into the specifics of growing pepperoncini, it’s important to understand a bit more about this unique variety of pepper. Pepperoncini belong to the Capsicum annuum species, which also includes bell peppers, jalapenos, and cayenne peppers. They are native to Italy and Greece, and they thrive in warm, sunny climates.
Pepperoncini are known for their mild heat, which typically ranges from 100 to 500 Scoville Heat Units (SHU). For comparison, jalapenos range from 2,500 to 8,000 SHU. This makes pepperoncini a great choice for those who enjoy a hint of spice without the burn.
Pepperoncini Nutrition
Not only are pepperoncini delicious, but they are also packed with nutritional benefits. According to the USDA, a serving of pepperoncini is low in calories but high in vitamin C and vitamin A. They also contain a small amount of fiber, making them a healthy addition to any diet.
Furthermore, like all chili peppers, pepperoncini contain capsaicin, a compound that has been linked to a variety of health benefits. Research from the University of California, Davis suggests that capsaicin may help to boost metabolism, reduce inflammation, and even alleviate pain.
Choosing Pepperoncini Seeds
The first step in growing pepperoncini is to select high-quality seeds. There are several factors to consider when choosing pepperoncini seeds, including the variety, the source, and the germination rate.
There are two main varieties of pepperoncini: Italian and Greek. Italian pepperoncini are slightly larger and sweeter, while Greek pepperoncini are smaller and more bitter. Choose the variety that best suits your taste preferences and culinary needs.
Seed Source
It’s important to purchase your seeds from a reputable source to ensure they are of high quality and free from disease. Look for companies that specialize in heirloom or organic seeds, as these tend to be more reliable. The Seed Savers Exchange and Baker Creek Heirloom Seeds are two well-regarded sources for pepperoncini seeds.
Additionally, check the germination rate of the seeds. This is the percentage of seeds that are expected to successfully sprout. A higher germination rate indicates a higher likelihood of successful growth.
Planting and Caring for Pepperoncini
Once you’ve selected your seeds, it’s time to start planting. Pepperoncini plants require a specific set of conditions to thrive, including the right soil, temperature, and watering regimen.
Soil Requirements
Pepperoncini plants prefer well-draining soil with a pH between 6.0 and 6.8, according to the University of California Statewide Integrated Pest Management Program. They also benefit from the addition of organic matter, such as compost or well-rotted manure, which can help to improve soil structure and provide essential nutrients.
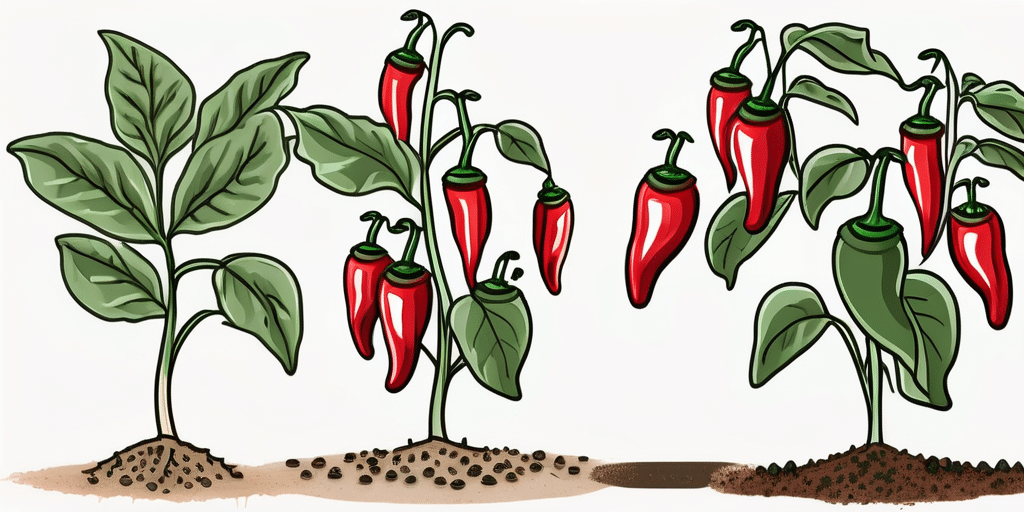
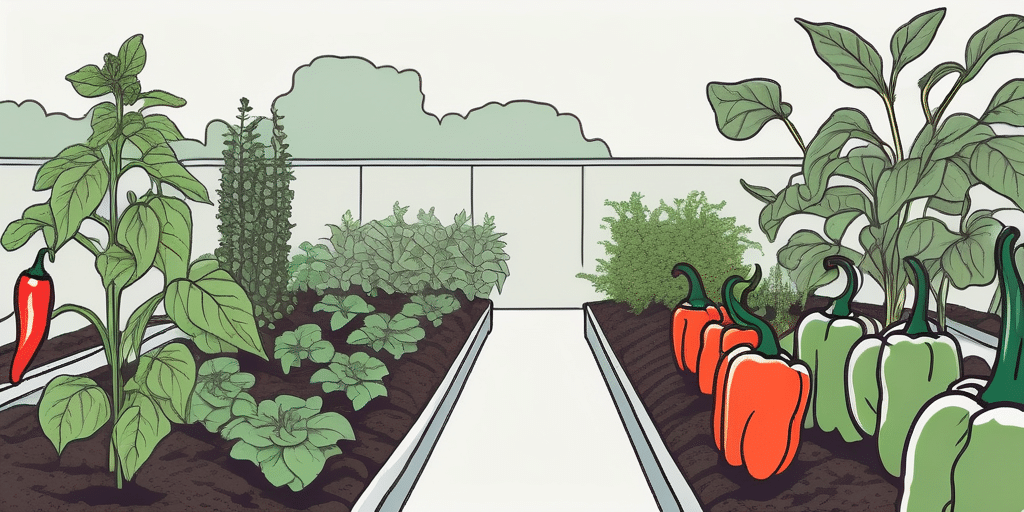
Plant your seeds about 1/4 inch deep in the soil, and space them about 18 to 24 inches apart to allow for adequate air circulation. If you’re planting multiple rows of pepperoncini, space the rows about 36 inches apart.
Temperature and Light Requirements
As warm-season plants, pepperoncini require plenty of sunlight and warm temperatures to grow. They need at least 6 to 8 hours of full sun each day, and they prefer temperatures between 70 and 85 degrees Fahrenheit.
If you live in a cooler climate, you can start your seeds indoors 6 to 8 weeks before the last expected frost date, and then transplant them outdoors once the weather has warmed up. Be sure to harden off your seedlings before transplanting them to help them adjust to the outdoor conditions.
Watering and Fertilizing
Pepperoncini plants need regular watering to stay healthy, but it’s important not to overwater them, as this can lead to root rot. Aim to keep the soil consistently moist but not waterlogged. A good rule of thumb is to water when the top inch of soil feels dry to the touch.
As for fertilizing, pepperoncini plants benefit from a balanced fertilizer that contains equal amounts of nitrogen, phosphorus, and potassium. Apply the fertilizer according to the package instructions, typically once at planting time and again when the plants start to flower.
Harvesting and Using Pepperoncini
With proper care, your pepperoncini plants should start to produce peppers about 70 to 80 days after planting. The peppers are ready to harvest when they are 2 to 3 inches long and bright green in color. To harvest, simply cut the peppers off the plant with a sharp knife or pruners, leaving a small portion of the stem attached.
Once harvested, pepperoncini can be used fresh or preserved for later use. They are delicious when pickled and used in salads, sandwiches, and pizza. They can also be dried and ground into a spice, or frozen for later use.
So, whether you’re a seasoned gardener or a complete beginner, growing your own pepperoncini can be a fun and rewarding experience. With the right care and attention, you’ll be enjoying your own homegrown peppers in no time.
Join the How to Grow Everything Community
Ready to turn your pepperoncini success into a full-blown garden paradise? Subscribe for free to How to Grow Everything and learn how to build the garden of your dreams! Receive personalized gardening advice tailored to your location, grow zone, and experience level. Enjoy the best gardening tips, special offers, and deals delivered straight to your inbox—100% free, from our family to yours. Join thousands of gardeners who trust us for their gardening needs. No spam, no tricks, just valuable insights to make your garden flourish. Start your journey with us today!
