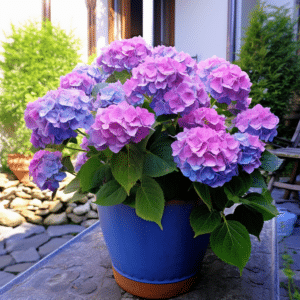
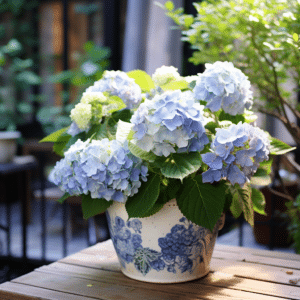
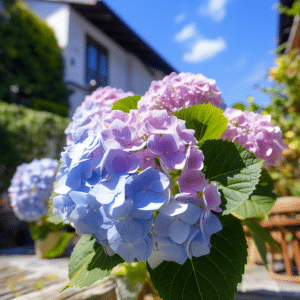
Hydrangeas, with their lush foliage and big, showy flower heads, are a favorite among gardeners. Propagating hydrangeas can be a rewarding experience, allowing you to increase your collection and fill your garden with these beautiful plants. This guide will provide you with a comprehensive understanding of the process.
Understanding Hydrangea Propagation

Propagation is the process of creating new plants from the parent plant. There are several methods of propagation, but when it comes to hydrangeas, the most common method is through cuttings. This is because hydrangeas root relatively easily from cuttings, making it a simple and effective method.
It’s important to note that the success rate of hydrangea propagation can vary depending on several factors. These include the type of hydrangea, the time of year, and the specific conditions in your garden. However, with the right knowledge and a little patience, you can successfully propagate hydrangeas.
Choosing the Right Hydrangea for Propagation
There are many different types of hydrangeas, each with their own unique characteristics. Some hydrangeas are better suited for propagation than others. For example, the Bigleaf hydrangea (Hydrangea macrophylla), which includes the popular mophead and lacecap varieties, is known for its ease of propagation.
On the other hand, some types of hydrangeas, such as the Oakleaf hydrangea (Hydrangea quercifolia), can be more challenging to propagate. It’s always a good idea to research the specific type of hydrangea you wish to propagate to ensure the best chance of success.
When to Propagate Hydrangeas

The best time to propagate hydrangeas is in the early summer, when the plant’s growth is most vigorous. This is when the stems of the hydrangea are mature enough to root well, but still flexible enough to be easily manipulated.
However, it’s also possible to propagate hydrangeas in the early spring or fall. The key is to choose a time when the plant is actively growing, but not in full bloom. This is because the plant’s energy is best used for root development rather than flower production during propagation.
How to Propagate Hydrangeas
Materials Needed
Before you begin, gather the necessary materials. You will need a sharp pair of pruning shears, a pot with drainage holes, potting soil, rooting hormone, and a plastic bag or clear plastic container.
It’s important to use clean tools and containers to prevent the spread of disease. You can sterilize your tools by wiping them with a cloth soaked in rubbing alcohol.
Step-by-Step Guide
- Choose a healthy stem from the hydrangea plant. Look for a stem that is not flowering and has at least two sets of leaves.
- Using your pruning shears, cut the stem just below a leaf node (the point where a leaf joins the stem). The cutting should be about 4-6 inches long.
- Remove the lower leaves from the cutting, leaving only the top two leaves. This helps to reduce moisture loss.
- Dip the cut end of the stem into rooting hormone. This helps to stimulate root growth.
- Fill your pot with potting soil and make a hole in the center. Place the cutting in the hole, ensuring that the leaf node is below the soil surface. Firm the soil around the cutting.
- Water the cutting well and cover the pot with a plastic bag or clear plastic container. This creates a mini greenhouse, maintaining high humidity levels which are essential for root development.
- Place the pot in a location with bright, indirect light. Avoid direct sunlight as it can cause the cutting to dry out.
- Check the cutting regularly and water as needed to keep the soil moist. After a few weeks, you should start to see new growth, indicating that the cutting has rooted.
Caring for Your New Hydrangea Plant

Once your hydrangea cutting has rooted, it’s time to start caring for it as a new plant. Gradually acclimate the cutting to lower humidity levels by removing the plastic cover for increasing periods each day. After a week or so, you can remove the cover permanently.
Continue to keep the soil moist, but not waterlogged. Too much water can lead to root rot, a common problem in newly propagated plants. It’s also a good idea to start feeding your new hydrangea plant with a balanced fertilizer to promote healthy growth.
Common Problems and Solutions in Hydrangea Propagation
While hydrangea propagation is generally straightforward, you may encounter a few challenges along the way. One common problem is the cutting wilting or turning brown. This is often a sign of too much heat or not enough humidity. Try moving the cutting to a cooler location and ensure it is well covered to maintain high humidity levels.
Another common issue is the cutting not rooting. This can be due to a number of factors, including the wrong time of year, poor cutting selection, or insufficient rooting hormone. If you’re having trouble, don’t be discouraged. Try again with a new cutting, and make sure to follow the steps closely.
In conclusion, propagating hydrangeas is a rewarding process that allows you to expand your garden with these beautiful plants. With a little patience and the right knowledge, you can successfully propagate hydrangeas and enjoy their stunning blooms for years to come.
