Starting seeds indoors is a great way to get a head start on your garden. Whether you have limited outdoor space or simply want to extend your growing season, indoor seed starting can be a rewarding experience. In this comprehensive guide, we will walk you through the basics of indoor seed starting, from understanding its importance to caring for your seedlings and transplanting them outdoors.
Understanding the Basics of Indoor Seed Starting
Before diving into the details of indoor seed starting, let’s first understand why it is an important technique for gardeners. Indoor seed starting allows you to control the growing conditions, ensuring that your seeds have optimal temperature, moisture, and light. It also helps you germinate seeds that need a longer growing season than your climate provides. By starting seeds indoors, you can have healthier and stronger seedlings that will thrive once transplanted outdoors.
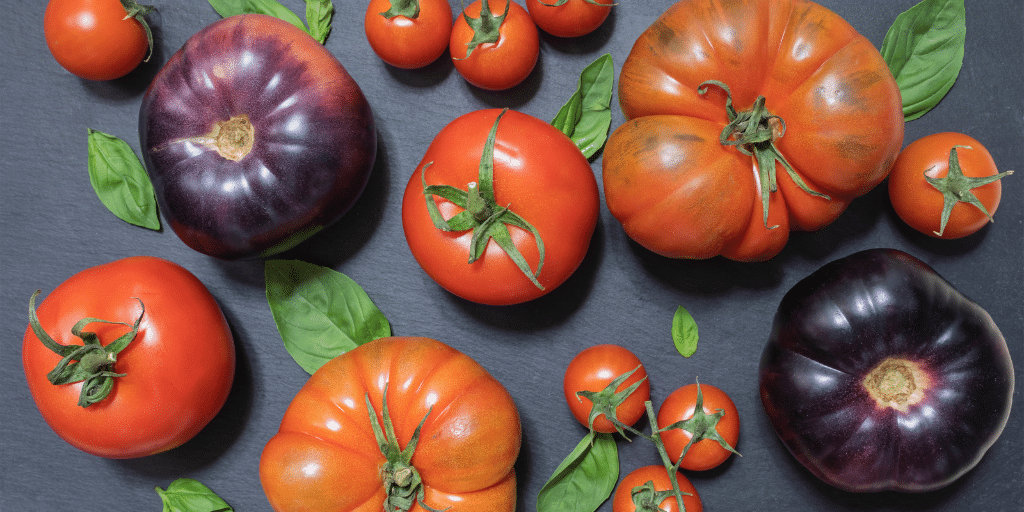
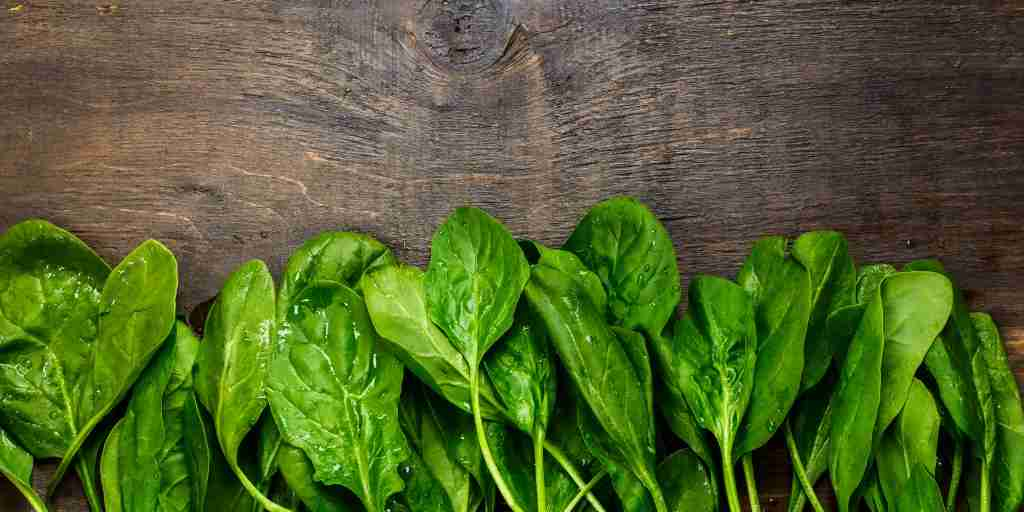
When it comes to indoor seed starting, there are a few key factors to consider. First and foremost, temperature plays a crucial role in seed germination. Different plants have different temperature requirements for successful germination. For example, warm-season crops like tomatoes and peppers prefer temperatures between 70-85°F (21-29°C), while cool-season crops like lettuce and spinach prefer temperatures around 60-70°F (15-21°C). By starting seeds indoors, you can provide the ideal temperature range for each type of plant, giving them the best chance of germinating successfully.
Moisture is another important factor to consider. Seeds need to be kept consistently moist during the germination process. However, it’s important not to overwater, as this can lead to rotting or damping-off disease. One way to ensure proper moisture levels is by using a seed-starting mix that retains moisture while still allowing for good drainage. This will help prevent waterlogged soil and promote healthy root development.
Light is also crucial for successful indoor seed starting. Most seeds require light to germinate, although some can germinate in darkness. Providing adequate light is especially important if you don’t have a sunny windowsill or a greenhouse. In such cases, you can use artificial grow lights, which provide the necessary spectrum of light for seedlings to grow strong and healthy. Position the lights close to the seedlings, keeping them on for 12-16 hours a day to mimic natural sunlight.
The Importance of Indoor Seed Starting
Indoor seed starting provides several benefits for both beginner and experienced gardeners. It gives you a jumpstart on the growing season, especially if you live in a region with a short growing season. Instead of waiting for the weather to warm up, you can get a head start by starting your seeds indoors. This means you’ll have mature plants ready for transplanting as soon as the weather allows, giving you a longer growing season and potentially higher yields.
Starting seeds indoors also allows you to experiment with a wider variety of plants that might not be available in local nurseries. While nurseries typically offer a limited selection of plants, starting your own seeds opens up a world of possibilities. You can choose from a vast array of heirloom varieties, unique cultivars, and rare plants that you won’t find elsewhere. This allows you to create a diverse and interesting garden that reflects your personal tastes and preferences.
Additionally, starting your own seeds can save you money. While buying established plants from a nursery can be convenient, it can also be expensive, especially if you have a large garden. On the other hand, starting your own seeds is more cost-effective. A packet of seeds usually contains dozens or even hundreds of seeds, which can yield a significant number of plants. By starting your own seeds, you can grow a bountiful garden without breaking the bank.
Types of Seeds Suitable for Indoor Starting
Not all seeds are suitable for indoor starting. Some seeds, such as root vegetables like carrots and potatoes, are best sown directly into the ground. These plants have delicate root systems that can be disturbed during transplanting, so it’s best to sow them directly where they will grow. However, many types of vegetables, flowers, and herbs are ideal for starting indoors.
Vegetables like tomatoes, peppers, and eggplants are commonly started indoors. These warm-season crops require a longer growing season than what is typically available in many regions. By starting them indoors, you can give them a head start and ensure they have enough time to mature and produce a bountiful harvest. Other vegetables like lettuce, spinach, and kale, which prefer cooler temperatures, can also be started indoors to extend the growing season.
In addition to vegetables, many annual flowers and herbs benefit from indoor seed starting. Flowers like marigolds, petunias, and zinnias can be started indoors to get a jumpstart on the blooming season. Herbs like basil, parsley, and cilantro can also be started indoors, allowing you to have fresh herbs at your fingertips throughout the year.
Overall, indoor seed starting is a valuable technique that offers numerous benefits for gardeners. By understanding the basics and selecting the right seeds, you can enjoy a successful and rewarding gardening experience.
Gathering Your Seed Starting Supplies
Before you can start your seeds indoors, you will need to gather the necessary supplies. Having the right equipment and soil is crucial for success in indoor seed starting.
Essential Equipment for Seed Starting
To start seeds indoors, you will need some basic equipment. This includes seed trays or containers with drainage holes, transparent covers or plastic wrap to create a mini greenhouse effect, a spray bottle for watering, and labels to identify your different seed varieties. Additionally, you may want to invest in a heating mat and grow lights to provide consistent warmth and light for your seedlings.
Choosing the Right Soil for Your Seeds
Choosing the proper soil for your seeds is essential for their success. Look for a seed starting mix that is lightweight, sterile, and well-draining. Avoid regular garden soil as it can be too heavy and may contain pests or diseases. You can also make your own seed starting mix by combining peat moss, vermiculite, and perlite in equal parts. This will ensure the ideal conditions for your seeds to germinate and grow.
The Process of Starting Seeds Indoors
Once you have gathered your supplies, it’s time to start the seed starting process. Properly preparing and sowing your seeds will greatly increase your chances of success.
Preparing Your Seeds for Planting
Before sowing your seeds, check the seed packet for any specific instructions regarding pre-soaking or scarification. Some seeds benefit from soaking in water overnight or nicking the hard seed coat to hasten germination. You can use a nail file or sandpaper to gently scarify the seeds. Remember to label the containers or trays to keep track of your different seed varieties.
Sowing Your Seeds: Step-by-Step Guide
When sowing your seeds, make sure to follow the recommended planting depth mentioned on the seed packet. Generally, you want to plant seeds at a depth of two to three times their diameter. Gently press the soil down around the seeds to ensure good seed-to-soil contact. After sowing, water the containers thoroughly, using a spray bottle or a watering can with a gentle showerhead attachment. Place the covers or plastic wrap on top of the trays to create a humid environment and aid germination.
Caring for Your Indoor Seedlings
Once your seeds have germinated and the seedlings emerge, it’s time to provide them with the care they need to thrive and grow strong.
Watering and Feeding Your Seedlings
Water your seedlings as needed, making sure to keep the soil consistently moist but not overly saturated. Bottom watering is the preferred method to avoid disturbing delicate seedlings. You can do this by placing the containers in a tray filled with water and allowing the soil to absorb the moisture from below. As your seedlings grow, they will also require nutrients. Start applying a diluted liquid fertilizer once they develop their first set of true leaves.
Providing Adequate Light for Your Seedlings
Light is crucial for the proper growth of your seedlings. Place them in a location that receives bright indirect sunlight or invest in fluorescent or LED grow lights. Position the lights close to the seedlings, maintaining a distance of a few inches to prevent them from becoming leggy. Adjust the height of the lights as the seedlings grow to ensure they get sufficient light intensity.
Transplanting Your Seedlings
Eventually, your seedlings will outgrow their containers and need to be transplanted into larger pots or the outdoor garden. Timing and proper technique are key for successful transplanting.
When and How to Transplant Seedlings
Transplant your seedlings after they have developed a strong root system and multiple sets of leaves. It’s important to harden off your seedlings before transplanting, which involves gradually exposing them to outdoor conditions. Choose a cloudy day or late afternoon to transplant your seedlings. Gently remove them from the containers, being careful not to damage the delicate roots. Dig a hole in the prepared soil, place the seedling in the hole, and backfill with soil. Water thoroughly after transplanting to help the seedling establish itself.
Hardening Off Seedlings Before Outdoor Planting
Hardening off is an essential step to acclimate your seedlings to the outdoors. Start by placing them outside in a sheltered location for a few hours each day, gradually increasing their time outside over the course of a week. Protect them from direct sunlight, wind, and extreme temperatures during this period. Once hardened off, your seedlings will be ready to be planted in their final outdoor location.
Starting seeds indoors opens up a world of possibilities for gardeners. By following this comprehensive guide, you can confidently start your seeds indoors and nurture them into strong and healthy plants. Enjoy the benefits of indoor seed starting and watch your garden flourish!
