If you’re looking to add a splash of color to your home or garden, look no further than the vibrant and eye-catching Calandiva. This popular flowering plant, known for its showy blooms and low maintenance requirements, is a favorite among both experienced gardeners and beginners. In this ultimate guide, we’ll delve into all aspects of Calandiva care, from understanding its origin and characteristics to providing the ideal growing conditions. So let’s get started and unlock the secrets to successful Calandiva cultivation.
Understanding Calandiva: A Brief Overview
The Origin and Characteristics of Calandiva
Calandiva, scientifically known as Kalanchoe blossfeldiana, is a member of the Crassulaceae family, native to Madagascar. This succulent plant is often referred to as “Florist Kalanchoe” due to its large, colorful flowers that resemble roses. With its compact size and profusion of blooms, Calandiva has become a popular choice for both indoor and outdoor gardeners alike.
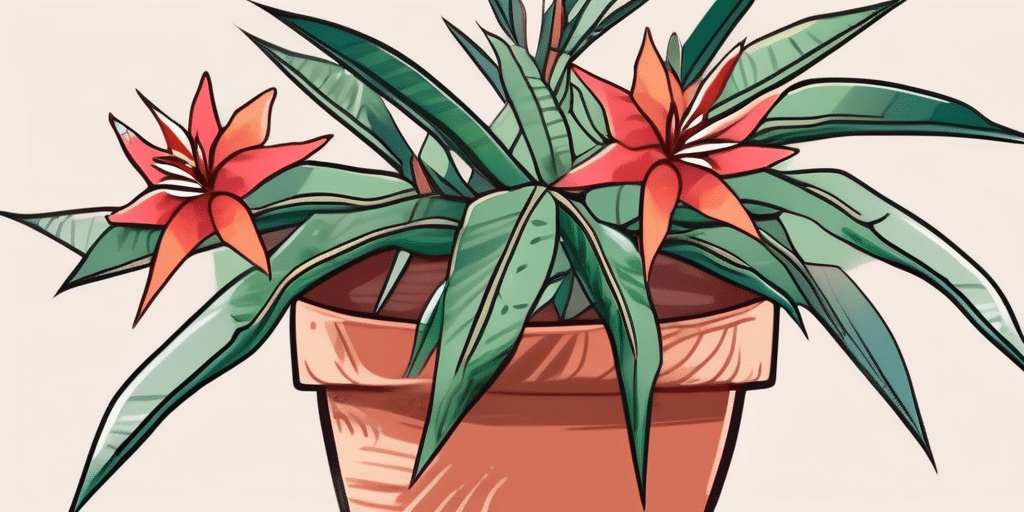
Known for its vibrant hues of pink, red, orange, and white, Calandiva’s flowers can last for several weeks, adding a touch of elegance to any garden or living space. The plant’s fleshy leaves store water, allowing it to withstand periods of drought, making it a low-maintenance and drought-tolerant option for gardeners of all skill levels.
The Importance of Calandiva in Home Gardening
Calandiva not only adds a burst of color to your garden but also has several benefits that make it an excellent choice for home gardening. The plant is known for its ability to improve indoor air quality by filtering out harmful pollutants. Additionally, Calandiva requires minimal care and is highly adaptable, making it suitable for a wide range of growing conditions. With the right care, this beautiful plant can thrive for several seasons, bringing joy and beauty to your living spaces.
Furthermore, Calandiva is a versatile plant that can be grown in containers, hanging baskets, or directly in the ground, allowing for creative landscaping options. Its ability to attract butterflies and bees makes it a valuable addition to any pollinator garden, supporting local ecosystems and biodiversity. Whether used as a standalone centerpiece or as part of a mixed planting scheme, Calandiva’s stunning blooms and easy maintenance make it a must-have for any gardening enthusiast.
Essential Calandiva Care Tips
Ideal Lighting Conditions for Calandiva
Proper lighting is crucial for the healthy growth of Calandiva. This plant thrives in bright, indirect light. Place your Calandiva in a location that receives at least six hours of bright, filtered sunlight daily. Avoid exposing the plant to direct sunlight, as it can scorch the leaves.
Calandiva’s need for optimal lighting conditions is rooted in its natural habitat. Originating from the rocky slopes of Madagascar, this plant has adapted to thrive in bright, but not intense, sunlight. The filtered sunlight mimics the dappled light that filters through the leaves of trees and shrubs, providing the perfect balance of brightness and shade for the Calandiva to flourish.
Watering Your Calandiva: Dos and Don’ts
When it comes to watering Calandiva, the old adage “less is more” holds true. Overwatering can be detrimental to this plant’s health. Allow the top inch of the soil to dry out between waterings. Insert your finger into the soil, and if it feels dry at that depth, it’s time to water. It’s essential to be mindful of the water requirements, as overwatering can lead to root rot.
While Calandiva’s watering needs are important, the quality of the water used is equally significant. The salts found in tap water can accumulate in the soil over time, affecting the plant’s ability to absorb nutrients. To prevent salt buildup, it is recommended to use filtered or distilled water when watering your Calandiva. This ensures that your plant receives the purest form of hydration, promoting its overall well-being.
Temperature and Humidity Preferences of Calandiva
Calandiva prefers moderate temperatures between 60 and 75 degrees Fahrenheit (15 to 24 degrees Celsius). Protect the plant from extreme temperature fluctuations, as it can adversely impact its health.
Understanding Calandiva’s natural habitat sheds light on its temperature preferences. In Madagascar, where the plant originates, the climate is characterized by warm days and cool nights. By providing a stable temperature environment within the recommended range, you are recreating the ideal conditions for this plant to thrive.
In terms of humidity, Calandiva can tolerate average indoor humidity levels. However, if you live in a dry climate or during winter months when indoor air tends to be drier, consider using a humidifier or placing a tray filled with water near the plant to increase humidity. This extra moisture in the air mimics the humid conditions of its native environment, ensuring that your Calandiva feels right at home.
Nutrient Requirements for Healthy Calandiva
Understanding Soil Preferences
Calandiva, a stunning flowering succulent, thrives in well-draining soil that is rich in organic matter. The ideal soil mix for Calandiva consists of a combination of potting soil and perlite or sand, providing both nutrients and excellent drainage for the plant’s roots. This mix mimics the natural conditions of Calandiva’s native habitat, allowing it to flourish indoors.
When selecting potting soil, opt for a well-balanced mix that is light and airy. Heavy clay or water-retaining soils should be avoided, as they can lead to waterlogged conditions and potentially cause root rot in your Calandiva plant.
Fertilizer Recommendations for Calandiva
To ensure your Calandiva continues to bloom vibrantly and remains healthy, regular fertilization is crucial. Choose a balanced, water-soluble fertilizer specifically designed for flowering houseplants. These fertilizers are formulated to provide the necessary nutrients for robust growth and prolific flowering.
When applying fertilizer to your Calandiva, it is important to follow the instructions on the package carefully. Over-fertilizing can result in salt accumulation in the soil, which can harm the plant’s roots and overall health. By adhering to the recommended dosage and frequency, you can maintain a healthy nutrient balance for your Calandiva.
During the flowering season, consider supplementing with a high-phosphorus fertilizer to further enhance blooming. Phosphorus is essential for flower production and can help stimulate abundant and long-lasting blooms on your Calandiva plant. Remember to water the plant thoroughly after fertilizing to prevent any potential nutrient burn and ensure proper absorption of the added nutrients.
Pruning and Repotting Your Calandiva
When and How to Prune Calandiva
Pruning is an essential part of Calandiva care, as it helps maintain the plant’s compact shape and encourages new growth. By following a few simple steps, you can ensure that your Calandiva thrives and remains healthy. Prune your Calandiva after the flowering period ends, typically in late winter or early spring.
- Start by removing any faded or damaged flowers by pinching them off with your fingers or using sterilized pruning shears. This not only improves the plant’s appearance but also prevents the formation of seed pods, which can divert energy away from new growth.
- Next, trim back any leggy or overgrown stems to promote bushier growth. Look for stems that have become long and straggly, and make clean cuts just above a leaf node or a joint. This will encourage new growth and help maintain a compact and attractive shape.
- Make clean cuts just above a leaf node or a joint to encourage new growth. This technique ensures that the plant will produce new branches from the point of pruning, resulting in a fuller and more vibrant Calandiva.
Remember to always use clean and sterilized pruning shears to prevent the spread of diseases. Additionally, it’s a good idea to wear gloves when pruning to protect your hands from any potential irritants.
The Right Way to Repot Your Calandiva
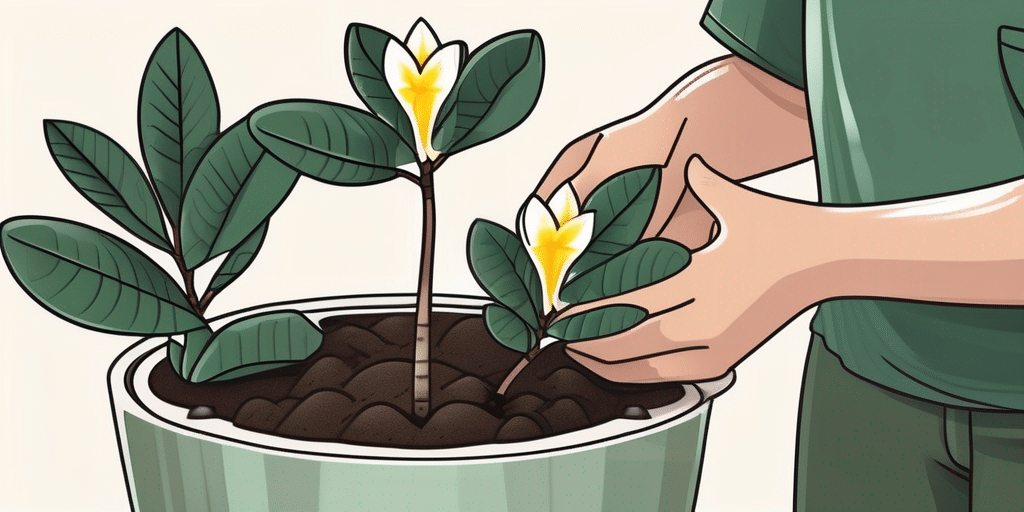
Calandiva generally requires repotting every one to two years, or when the plant outgrows its current container. Repotting not only provides your Calandiva with fresh soil and nutrients but also gives you the opportunity to inspect the root system and ensure its health. Here’s a step-by-step guide to repotting your Calandiva:
- Select a slightly larger pot with drainage holes to ensure good soil drainage. This will prevent waterlogging and promote healthy root growth.
- Fill the new pot approximately one-third full with a well-draining potting mix. This will provide a suitable growing medium for your Calandiva and allow for proper root development.
- Gently remove the Calandiva from its current container, taking care not to damage the roots. You can do this by gently tapping the sides of the container or using a trowel to loosen the soil.
- Inspect the root system and trim off any damaged or rotten roots. This step is crucial as it helps maintain the overall health of the plant and prevents the spread of diseases.
- Place the plant in the new pot, ensuring that it sits at the same depth as before. This will prevent the plant from becoming too deep or too shallow, which can affect its growth and stability.
- Fill the remaining space with the potting mix, firming it gently around the plant. Be careful not to pack the soil too tightly, as this can hinder water drainage and root development.
- Water the plant thoroughly and place it in a location with appropriate lighting conditions. Calandiva thrives in bright, indirect light, so choose a spot that receives ample sunlight but is protected from direct exposure.
By following these steps, you can ensure that your Calandiva remains healthy and continues to brighten up your space with its vibrant blooms. Remember to monitor the plant’s growth and adjust your care routine accordingly, providing it with the necessary attention and love it deserves.
Troubleshooting Common Calandiva Problems
Identifying and Managing Calandiva Diseases
Although Calandiva is generally a hardy plant, it can occasionally fall prey to diseases. Some common Calandiva diseases include powdery mildew, root rot, and fungal infections.
To prevent diseases, ensure that your Calandiva is planted in well-draining soil and receives adequate sunlight and air circulation. Avoid overwatering and remove any affected leaves or stems promptly. If the problem persists, you may need to use organic fungicides or consult a professional for further assistance.
Pest Control Measures for Calandiva
While pests are not a frequent issue for Calandiva, occasional infestations can occur. Common pests that affect Calandiva include aphids, spider mites, and mealybugs.
Early detection is key when it comes to preventing pest infestations. Regularly inspect your plant for signs of pests, such as webbing or sticky residue on the leaves. If pests are present, you can try using insecticidal soap or neem oil, following the package instructions carefully. For severe infestations, consider seeking professional advice or using stronger, targeted insecticides.
By following these essential care tips and guidelines, you’ll be well on your way to growing beautiful and healthy Calandiva plants. Remember, each plant is unique, and it may take a bit of trial and error to find the perfect balance of care for your specific Calandiva. With patience and dedication, you’ll be rewarded with stunning blooms and a captivating addition to your home or garden.
Join Our Green-Thumbed Community!
Ready to take your Calandiva care to the next level and build the garden of your dreams? Subscribe for free to How to Grow Everything and gain access to personalized gardening advice tailored to your specific location, grow zone, and experience level. Our family is dedicated to helping you grow everything you can imagine, with no spam, just the best gardening tips and exclusive deals delivered straight to your inbox. Become part of our community today and let’s grow together!
