Have you been longing to add a touch of greenery to your home? Look no further than the rubber plant! With its glossy leaves and low-maintenance care requirements, the rubber plant is an excellent choice for both beginner and experienced plant enthusiasts. In this ultimate guide, we will take you through everything you need to know to successfully grow and care for your rubber plant. From understanding its origins to troubleshooting common problems, we’ve got you covered. So, let’s dive in and explore the world of rubber plants together!
Understanding the Rubber Plant
The rubber plant, scientifically known as Ficus elastica, is a species of evergreen tree belonging to the fig family, Moraceae. Native to Southeast Asia, particularly India and Indonesia, this plant has a rich history dating back centuries. Let’s delve into its origin and discover its remarkable characteristics.
When exploring the origins of the rubber plant, it’s fascinating to note that its journey began in the rainforests of India and Southeast Asia. British explorers stumbled upon this botanical gem in the lush environments of these regions, where they discovered its sap containing latex, a valuable and versatile material. The latex extracted from the rubber plant was a game-changer as it was utilized in the production of rubber, hence earning the plant its common name. Following its discovery, the rubber plant made its way to Europe, captivating botanists and plant enthusiasts with its beauty and utility, eventually becoming a beloved household plant worldwide.
Origin and History of the Rubber Plant
The rubber plant’s journey began in the rainforests of India and Southeast Asia. It was in these lush environments that British explorers discovered its sap, which contains latex, a valuable and versatile material. The latex was later used to produce rubber, thus giving the plant its common name. After its discovery, the rubber plant was brought to Europe and eventually found its way into households around the world as an attractive indoor plant.
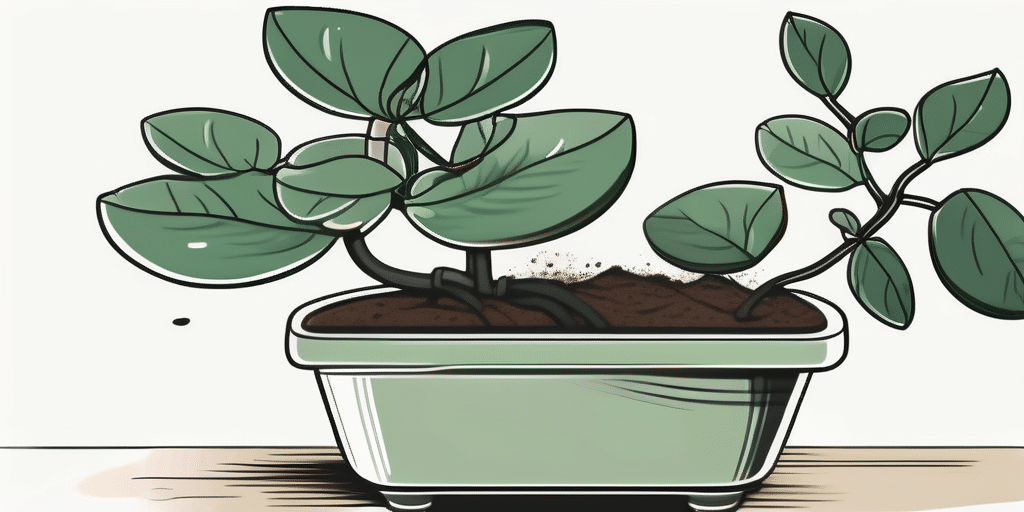
As we continue to unravel the allure of the rubber plant, it becomes evident that its key characteristics contribute to its popularity among plant enthusiasts. Renowned for its striking appearance, the rubber plant boasts large, leathery leaves that are typically dark green in color. However, cultivars with variegated leaves have also gained significant popularity among plant lovers. These impressive leaves can grow up to a foot long and are deeply veined, adding a touch of elegance and visual intrigue to any space where the plant resides. Beyond its aesthetic appeal, the rubber plant is celebrated for its air-purifying qualities, making it a practical choice for enhancing indoor air quality by effectively reducing common pollutants.
Key Characteristics of the Rubber Plant
The rubber plant is known for its striking appearance and unique features. Its large, leathery leaves are typically dark green, although cultivars with variegated leaves are also popular. These leaves can grow up to a foot long and are deeply veined, adding texture and visual interest to the plant. Additionally, the rubber plant is considered an air purifier, making it a great choice for improving indoor air quality by reducing common pollutants.
Preparing for Your Rubber Plant
Before bringing your rubber plant home, there are a few steps you need to take to ensure its success. These include selecting the right location for your plant and choosing an appropriate pot.
Adding to these crucial steps, it’s important to consider the humidity levels in your home. Rubber plants, native to tropical regions, thrive in environments with higher humidity. To mimic these conditions, you can use a humidifier near your plant or place a tray filled with water and pebbles beneath the pot. This will help create a microclimate that is ideal for your rubber plant’s growth and overall health.
Choosing the Right Location
When it comes to the rubber plant, choosing the right location can make all the difference. This tropical plant thrives in bright, indirect sunlight. Avoid placing it in direct sunlight as it can lead to leaf burn. Ideally, find a spot near a north or east-facing window, where the plant can receive sufficient light without being exposed to intense rays. Keep in mind that rubber plants can tolerate lower light conditions, but their growth may be slower.
Furthermore, consider the temperature around the chosen location. Rubber plants prefer temperatures between 60-80°F (15-27°C). Avoid placing them near drafts or vents as sudden temperature fluctuations can stress the plant. Maintaining a consistent temperature will promote healthy growth and prevent any potential shock to your rubber plant.
Selecting the Perfect Pot
A suitable pot is essential for the healthy growth of your rubber plant. Look for a pot with drainage holes to prevent waterlogged soil, which can lead to root rot. Additionally, choose a pot that allows room for growth, as the rubber plant can develop an extensive root system. A pot that is one size larger than the current root ball is usually sufficient. Remember to select a pot that complements your home decor, as the rubber plant can be a stunning decorative element.
Consider using a potting mix specifically formulated for tropical plants, as it will provide the necessary nutrients and drainage for your rubber plant. When repotting, gently loosen the roots to encourage outward growth and replace any compacted soil. This will ensure that your rubber plant has ample space to thrive and continue to beautify your living space.
Planting Your Rubber Plant
Now that you have the perfect location and pot, it’s time to plant your rubber plant. But before diving in, let’s explore the planting process and the essential tools you will need.
Understanding the Planting Process
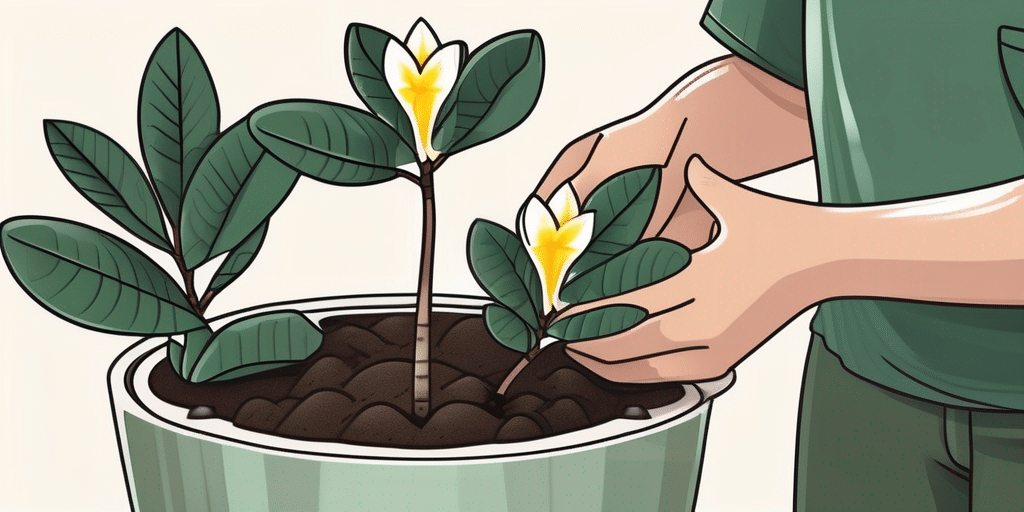
When planting your rubber plant, start by preparing the potting mix. A well-draining mix consisting of equal parts potting soil, perlite, and peat moss is ideal. Gently remove the plant from its nursery container, being careful not to damage the delicate root system. Place the plant in the new pot, ensuring that the root ball is centered. Fill in the gaps with the potting mix, gently firming it around the roots. Finally, water the plant thoroughly, allowing the excess water to drain from the bottom of the pot.
Essential Tools for Planting
To successfully plant your rubber plant, you’ll need a few essential tools. These include a gardening trowel for scooping and filling the potting mix, pruning shears for any necessary trimming, and a watering can with a narrow spout for precision watering. These tools will not only make the planting process easier but also come in handy for ongoing maintenance.
Caring for Your Rubber Plant
Proper care is vital for the long-term health and beauty of your rubber plant. In this section, we will discuss watering techniques, fertilizer needs, and maintenance tips to keep your plant thriving.
Watering Techniques and Schedule
When it comes to watering your rubber plant, striking the right balance is key. Overwatering can lead to root rot, while underwatering can cause the plant to wilt and suffer. The general rule of thumb is to allow the top inch of the soil to dry out before watering again. Be sure to use a well-draining potting mix and avoid letting the plant sit in water-filled saucers. Remember, rubber plants are more tolerant of underwatering than overwatering.
Fertilizer Needs and Application
To ensure optimal growth and foliage health, occasional feeding is necessary. During the growing season, which typically spans spring and summer, apply a balanced liquid fertilizer every two to four weeks. Follow the manufacturer’s instructions for dosage and dilution. It’s important to reduce or eliminate fertilization during the winter months when the rubber plant’s growth slows down.
Pruning and Maintenance Tips
Regular pruning is essential for maintaining the shape and size of your rubber plant. To encourage branching, prune the tips of the branches using clean pruning shears. Additionally, remove any yellowed or discolored leaves to promote overall plant health. It’s also worth periodically wiping the leaves with a damp cloth to remove dust, which can hinder photosynthesis. Lastly, keep an eye out for any signs of pests or diseases, and take appropriate action to prevent further damage.
Troubleshooting Common Rubber Plant Problems
Despite their resilience, rubber plants can face a few challenges along the way. In this section, we will tackle some common problems faced by rubber plant owners and discuss how to overcome them.
Identifying Diseases and Pests
Rubber plants are generally resistant to diseases, but they can still fall victim to a few common ailments. Leaf spot, caused by fungal infection, can manifest as brown spots or discolored patches on the leaves. To prevent leaf spot, avoid overwatering and ensure good air circulation around the plant. As for pests, keep an eye out for spider mites and scale insects. Regularly inspect the leaves and stems, and if you spot any insects, treat them promptly with an organic insecticidal soap according to the product instructions.
Overcoming Growth Issues
If your rubber plant is not showing signs of growth or is growing slowly, there could be a few underlying factors at play. Lack of light, improper watering, or inadequate fertilization can all impact the plant’s growth. Assess the conditions in which your plant is placed and adjust accordingly. Remember, rubber plants thrive in bright, indirect sunlight, well-draining soil, and regular but moderate watering.
Now that you have the ultimate guide to growing a rubber plant, it’s time to put your newfound knowledge into action. With proper care and attention, your rubber plant will flourish, becoming a stunning and cherished addition to your home. Whether you’re a seasoned plant lover or embarking on your first green adventure, the rubber plant is sure to delight and brighten up your space. Happy growing!
Join Our Green-Thumbed Community!
Ready to transform your home into a lush paradise with the rubber plant and more? Subscribe for free to How to Grow Everything and start building the garden of your dreams today! Receive personalized gardening advice tailored to your specific location, grow zone, and experience level. Our family is dedicated to helping you grow, offering thousands of free articles to guide you every step of the way. No spam, just the best gardening tips, special offers, and deals delivered straight to your inbox. Join our community and let’s grow together!
