Chickpeas, also known as garbanzo beans, are a staple in many diets around the world. They are a rich source of protein, fiber, and several other essential nutrients. But have you ever wondered how these nutritious legumes grow? Let’s delve into the fascinating world of chickpea cultivation.
The Life Cycle of a Chickpea Plant
The journey of a chickpea seed to a fully grown plant is a fascinating process. It involves several stages, each with its unique requirements and challenges. Understanding these stages can help us appreciate the effort that goes into producing these nutritious legumes.
Let’s take a look at the life cycle of a chickpea plant.
Stage 1: Germination
The life of a chickpea plant begins with a seed. When the seed is sown in the soil and provided with the right conditions, it starts to germinate. This is the first stage in the life cycle of a chickpea plant.
Germination requires a specific set of conditions. According to the USDA, chickpea seeds need a temperature between 10-30°C and a well-drained soil to germinate. The process takes about 7-14 days.
Stage 2: Seedling
Once the seed has germinated, it grows into a seedling. This is the second stage in the life cycle of a chickpea plant. The seedling stage is crucial as it sets the foundation for the plant’s growth and development.
The seedling stage lasts for about 2-4 weeks. During this time, the plant develops its root system and starts to produce leaves. It is important to keep the soil moist but not waterlogged during this stage.
Stage 3: Flowering
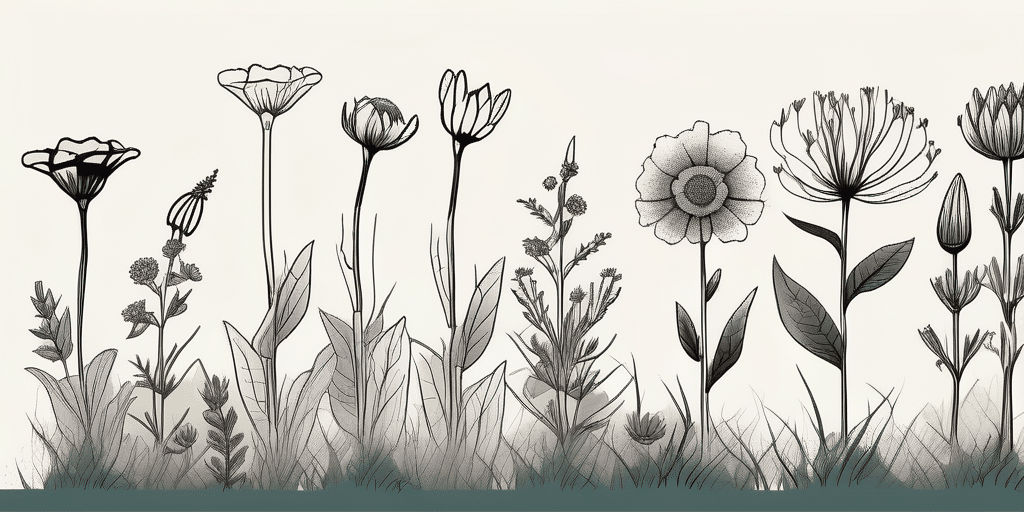
After the seedling stage, the chickpea plant enters the flowering stage. This is when the plant starts to produce flowers, which will eventually develop into pods containing the chickpeas.
The flowering stage usually begins 6-8 weeks after sowing. The flowers are self-pollinating, which means they do not need insects or wind to transfer pollen. This makes chickpea plants an excellent choice for indoor or container gardening.
How to Grow Chickpeas at Home
Now that we understand the life cycle of a chickpea plant, let’s learn how to grow chickpeas at home. Growing chickpeas can be a fun and rewarding experience. Plus, homegrown chickpeas are often more flavorful and nutritious than store-bought ones.
Here is a step-by-step guide to growing chickpeas at home:
- Choose the right variety of chickpeas. There are two main types: Desi and Kabuli. Desi chickpeas are smaller and darker, while Kabuli chickpeas are larger and lighter.
- Prepare the soil. Chickpeas prefer well-drained soil with a pH between 6.0 and 7.0. Add compost or organic matter to improve the soil’s fertility.
- Sow the seeds. Plant the seeds 1-2 inches deep and 6 inches apart. Water thoroughly after planting.
- Care for the plants. Keep the soil moist but not waterlogged. Weed regularly to prevent competition for nutrients.
- Harvest the chickpeas. Chickpeas are ready to harvest when the pods turn brown and the seeds rattle inside. This usually happens 100-110 days after planting.
Common Challenges in Growing Chickpeas
While growing chickpeas can be a rewarding experience, it also comes with its share of challenges. These challenges can affect the health and yield of your chickpea plants.
Here are some common challenges in growing chickpeas and how to overcome them:
Disease and Pests
Chickpea plants can be affected by various diseases and pests. These include fungal diseases like Ascochyta blight and pests like aphids and cutworms. To prevent these issues, use disease-resistant varieties and practice crop rotation.
Weather Conditions
Chickpeas are sensitive to weather conditions. They prefer cool, dry weather and can be damaged by excessive heat or rainfall. To protect your plants, provide shade during hot weather and ensure good drainage to prevent waterlogging.
Soil Fertility
Chickpeas require fertile soil to grow well. Poor soil fertility can result in low yields and poor-quality chickpeas. To improve soil fertility, add compost or organic matter to the soil and practice crop rotation.
Conclusion
Chickpeas are a nutritious and versatile legume that can be grown in your own backyard. Understanding how chickpeas grow and the challenges involved can help you produce a successful crop. So why not give it a try? You might be surprised at how rewarding it can be to grow your own chickpeas.
Remember, every plant’s journey starts with a single seed. Happy gardening!
Join Our Gardening Community
Ready to take your chickpea-growing journey to the next level? Subscribe for free to How to Grow Everything and learn how to build the garden of your dreams! Receive personalized gardening advice tailored to your location, grow zone, and experience level. Our family is dedicated to helping you succeed in your gardening adventures with the best tips and special offers. Join our community today and start receiving the guidance you need, straight to your inbox, 100% free. Happy gardening!

