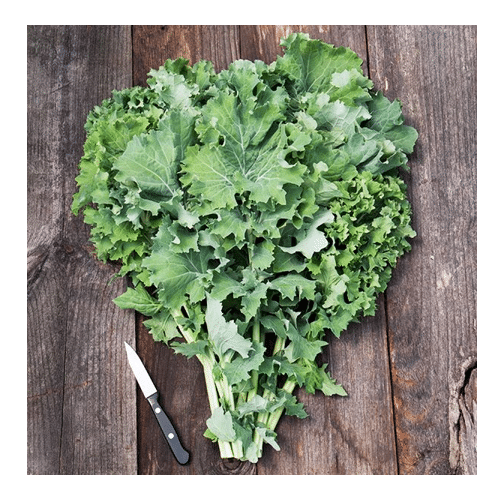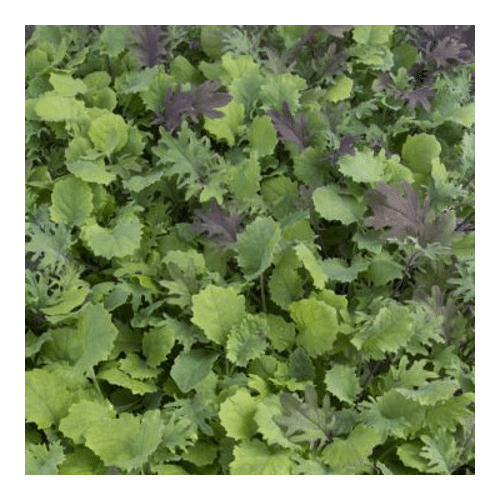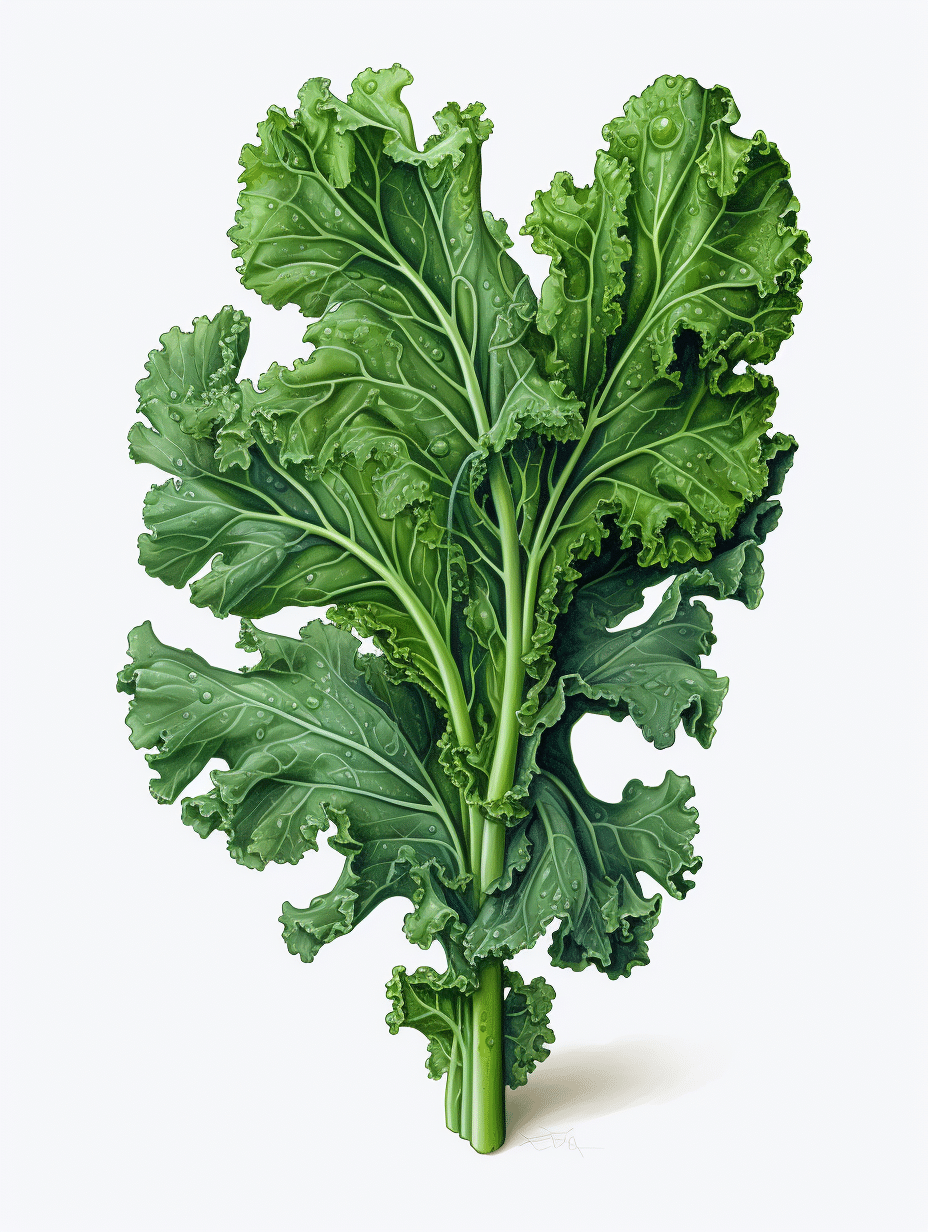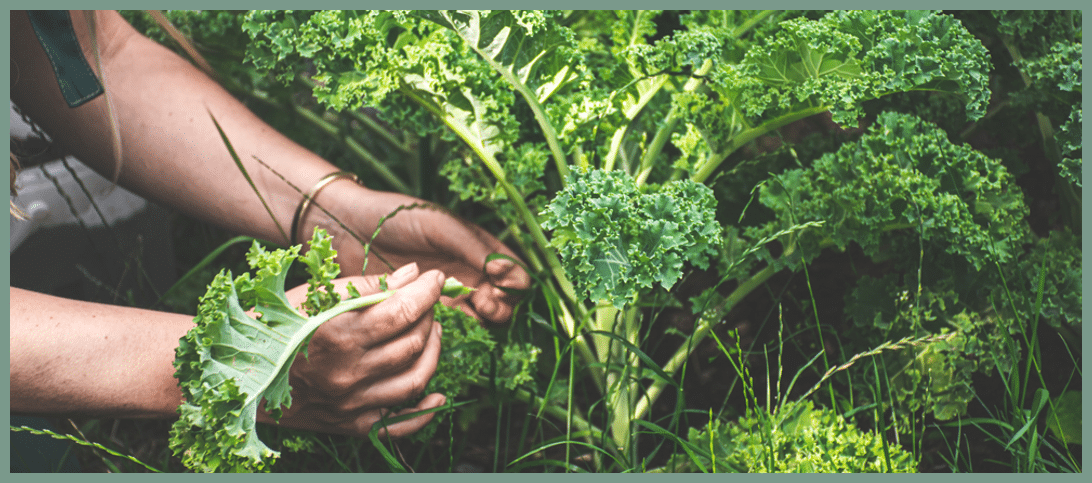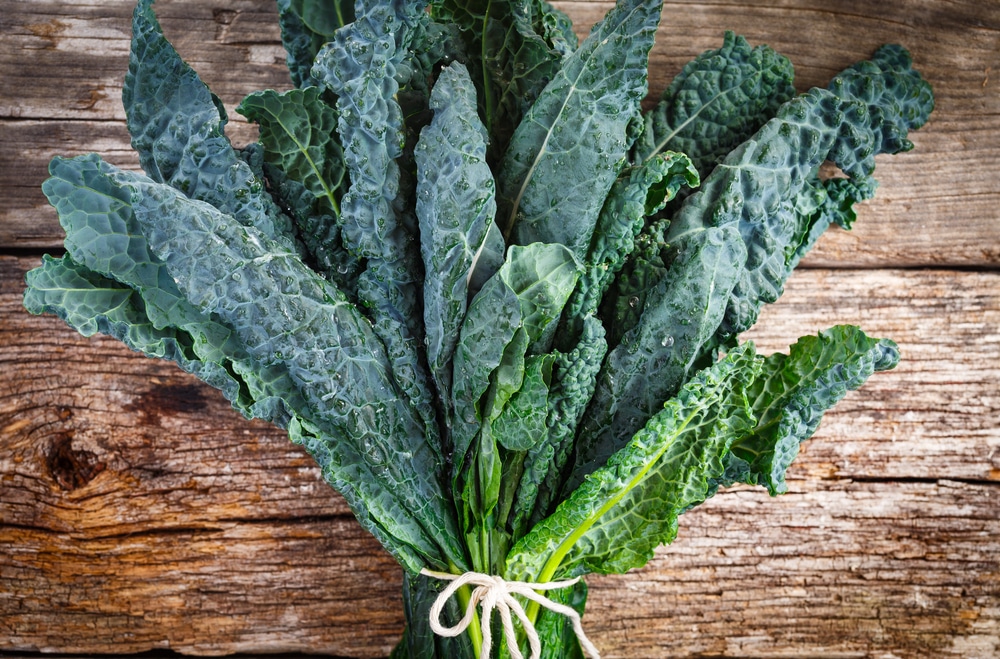
Kale is one of the most rewarding leafy-green plants to grow in any garden. Kale plants (brassica oleracea) are easy to grow, mature fast, and provide a continuous harvest throughout the growing season. The leafy greens of the kale plant make healthy additions to salads, stews, and smoothies. Kale is a member of the brassica family and is related to cabbage, broccoli, cauliflower, brussels sprouts, and mustards. Like other brassicas, kale is a cold-season crop and grows best when exposed to light frost and mild outdoor temperatures. Most kale varieties are easy to grow indoors and outdoors and can be harvested as baby greens and mature plants. Ready to grow? Let’s dive into our foolproof guide to planting, growing, and harvesting kale.
Snapshot: How to Grow Kale
When to Plant:
Start kale seeds 4-6 weeks before the average last frost date (early spring planting) or 14 weeks before the first frost date (late summer planting).
How to Plant:
Plant a group of 3 seeds in every starter cell, ¼ to ½ inch deep, cover with soil, and lightly water.
Ideal Growing Environment:
Kale grows best when given full sun and planted in nitrogen-rich soil with a pH of 6-7.5 and soil temperatures ranging from 65°-85°F.
Germination:
Newly planted kale seeds will sprout within 5-10 days of planting.
Watering:
Prefers moist soil. Provide plant with consistent watering of one inch per week.
Sunlight:
Kale plants prefer full sunlight but can grow in partial shade as well. Plant needs a minimum of 6-8 hours of sunlight per day.
Fertilizer:
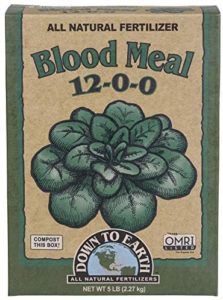
Kale loves nitrogen-rich fertile soil. Amend soil with aged compost, blood meal fertilizer, or kelp extract throughout development.
Harvesting:
Most kale varieties are mature and ready for harvest in 50-70 days after sprouting. Harvest kale by removing the lower leaves on the plant. For a “cut and come again” harvest, simply leave the terminal bud (budding center leaves) on the plant and it will continue to grow.
Companion Plants:
Best companion plants for kale include nitrogen fixers (peas & beans) and repellents (herbs, nasturtium, marigolds, onions, garlic).
Getting Started: Growing Kale From Seed
Recommended Products for Growing Kale
Kale plants can be successfully started from seed both indoors and outdoors; however, kale will germinate more consistently when sown indoors in a managed growing environment (in a seed starting tray and under grow lights). Kale is a cool-season crop and tastes best when exposed to slightly cooler weather (in fact, kale can become bitter and “bolt” when exposed to high temperatures). It’s best to start your kale seeds in early spring and/or late summer to avoid hard frosts and high heat. Regardless of where and when you decide to start your seeds, all kale plants require adequate sunlight, well-draining fertile soil, and consistent watering to thrive. Here’s what you’ll need to successfully grow kale plants from seed:
Start Indoors:
- Start seeds indoors 4-6 weeks before your plant zone’s last spring frost date or 12-14 weeks before your zone’s first fall frost date
Planting the Seeds:
- Fill a seed starting tray with high-quality seed starter mix.
- Gently water the starter mix until moist.
- Place a group of 3 kale seeds in each starter pot.
- Gently push seeds ¼ - ½ inch deep and lightly cover with soil.
- Optional: use a humidity dome over your seed tray to retain moisture until seeds begin to sprout.
Daily Seedling Care:
- Place seedlings in a sunny location or under an indoor grow light
- Kale seedlings germinate best when soil temperatures are between 65-85 degrees. Consider using a seedling heat mat to keep soil in the ideal temperature range.
- Keep the soil moist by lightly misting daily until seeds begin to sprout.
- Kale seeds should begin to sprout within 5-10 days of planting.
- Thin seedlings to 1 plant per starter pot after germination.
Kale seeds will be ready to harden off and transplant outdoors approximately 4-6 weeks after germination.
How to Transplant Kale
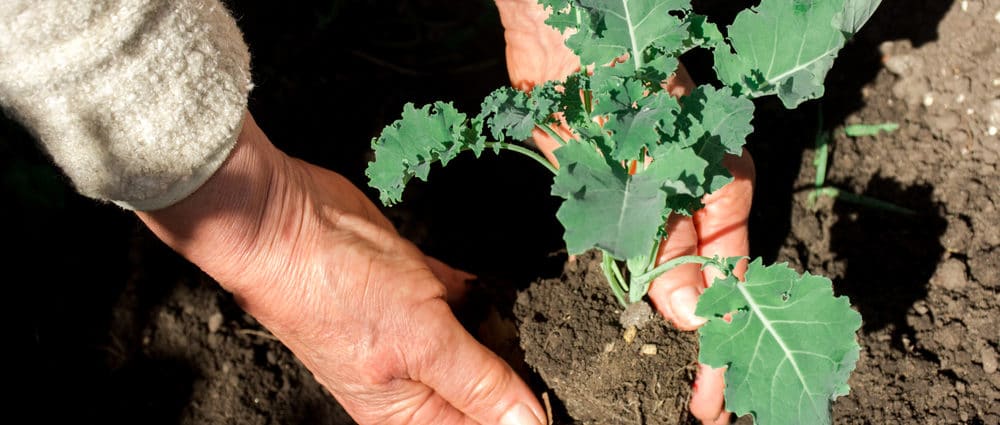
Transplanting kale is simple when the plant and the soil have been adequately prepared ahead of time. Like all plants which have been cultivated indoors, kale transplants need time to adjust to their new outdoor environment as well as fertile soil to avoid transplant shock. Follow these instructions to give your kale transplants the best chance of survival:
Best Time to Transplant Kale:
Kale plants are ready to transplant approximately 3-6 weeks after the seeds have sprouted. The goal is to expose your kale to the cooler temperatures of early spring and late summer. Kale loves a light frost. In fact, the leaves become sweeter when kissed by cooler temperatures. So, do not be afraid transplant your kale plants outdoors just before the last spring frost.
Harden Off:
The process of slowly acclimating your kale plants to outdoor growing conditions is called “hardening off.” Hardening off your kale plants will help to reduce the risk of plant death caused by transplant shock. To do this, simply place your kale plants in an outdoor area for a few hours a day. Allow the plants spend a few days in a shady spot, a few days in a sunnier spot, and a few days in full sun.
Transplanting:
- Choose a location that receives at least 6 hours of sunlight per day. If you live in a hot climate, then choose a location that is partially shaded.
- Dig a hole in the ground large enough to fully encompass the root system of your transplant.
- Energize your new transplants by adding a nitrogen-rich kale fertilizer to the planting hole.
- Place transplant in the hole and backfill snuggly around the plant with soil or compost.
- Lay mulch around your new plants to prevent weeds and maintain soil moisture.
- Thoroughly water each transplant.
Kale Plant Spacing
Spacing your kale depends a lot on your harvest goals. Kale microgreens can be sown close together because the plants will be harvested shortly after sprouting. If harvesting baby kale leaves, seeds can be sown 1 inch apart and then thinned to one plant every 3-4 inches. When growing kale to full maturity, plants and rows should be spaced roughly 18-24 inches apart.
How Long Does it Take For Kale to Grow?
Depending on the variety of kale being grown, seeds should germinate between 5-10 days after planting. After sprouting, kale plants will reach maturity between 50 – 70 days.
How to Care For Kale Plants
When to Water Kale?
Most kale plants thrive on 1-2 inches of water per week. They goal with kale is to water evenly and consistently to maintain soil moisture. Consistent watering will produce crispy sweet kale leaves. Mulch the base of your kale plants to reduce the risk of your plants drying out.
When to Fertilize Kale?
Although kale does not necessarily need heavy fertilization to thrive, kale plants are happiest when planted in nitrogen-rich fertile soil and consistently fertilized throughout their development. Nitrogen fertilizers help plants to develop larger leafy greens. When transplanting kale, add a nitrogen-rich blood meal fertilizer to the transplant hole along with organic compost. Water with an organic seaweed extract fertilizer diluted in water at the time of transplanting to strengthen roots and prevent transplant shock. When you begin harvesting from the plant, encourage rigorous regrowth by fertilizing your kale with a tsp of blood meal every two weeks.
How to Grow Kale Outdoors
Most kale varieties grow very well when direct-sown and started from seed outdoors. Outdoor kale plants are hardy, low maintenance, and resilient against pests and disease. Kale can be grown outdoors all year round in zones 7 through 9 and in mild climates which do not experience heavy frosts or high heat. Other climates will have to grow kale as an annual in either the early spring or late summer.
Tips for Growing Kale Outdoors:
Spring Kale Harvest:
For a late spring/early summer kale harvest, direct-sow your kale seeds into the ground as soon as the soil is workable and at least 45 degrees (or at least 2 weeks before the last spring frost date). Plant seeds in a sunny location. Your kale will continue to grow and produce a tasty harvest until it experiences consistently hot temperatures. Kale plants will bolt (divert energy to producing seeds) and take on a bitter taste when it gets too hot.
Fall Kale Harvests:
When planting kale for a fall harvest, direct sow your seeds in late summer (or at least 14 weeks before the first fall frost). Plant seeds in a sunny or partially shaded location. Complete your kale harvest before your plants are damaged by hard frost.
Add Nutrients to Your Soil:
Fertilize with the soil with amendments like aged compost, blood meal fertilizer, or seaweed extract
Keep a Clean Environment:
Maintaining a clean environment around your kale plant helps to keep plants healthy and makes harvesting leaves easier. Deter pests and disease by removing any unhealthy leaves on the plant and all fallen leaves around the plant. Mulch keeps soil off the lower kale leaves which helps to prevent contamination and makes for a cleaner harvest.
Extend Your Growing Season:
Extend your kale growing season and guard against pests by using floating row covers, hoop tunnels, cold frames, or a greenhouse. Outdoor kale plants will continue to produce good harvests until they experience high heat or a hard frost. Floating row covers and greenhouses can help to protect against the damage caused by frosts and allow you to continue harvesting from your kale plant into the winter months.
- Kale Fertilizer: Nitrogen-rich blood meal fertilizer to boost the growth of leafy greens.
- Seaweed Extract Fertilizer: A water-soluble fertilizer that boosts plant growth, protects against transplant shock, and strengthens roots.
- Row Covers: Provides protection from the two biggest threats against kale -- pests and hard frosts up to 28°.
- Cold Frame: A mini greenhouse. Extends the kale growing season. Protects kale from frosts and bad weather.
- Greenhouse: Creates a microclimate allowing you to kale year-round. Protects kale from frosts and bad weather.
Growing Kale Indoors
Did you know that kale can be successfully grown indoors? Kale is very cold tolerant and can thrive in partially shaded conditions—making it a good candidate for indoor growing. With the right setup, you can enjoy kale all year round from the comfort of your own home. Below, we have provided some tips on how to grow kale indoors but be sure to also read the next section on how to grow kale in pots for the complete picture.
Tips for Growing Kale Indoors:
Provide Full Sunlight:
Kale needs a minimum of 6-8 hours of solid sunlight each day. Choose a sunny location indoors and/or supplement low-light conditions with strong indoor grow lights.
Choose "Indoor Friendly" Types of Kale:
Kale can be grown indoors as microgreens, for baby leaves, and as mature plants. The key is to select kale varieties that are best suited for indoor growing. For baby greens, try the Red Russian and Tuscan varieties. Alternatively, look for specialty kale seed mixes designed for baby leaves. To grow full-sized kale plants indoors, stick with smaller varieties like Red Russian, Dwarf Blue Curled, Dwarf Green Curled, Dwarf Siberian, or a Container Kale seed mix.
- Kale Fertilizer: Nitrogen-rich blood meal fertilizer to boost the growth of leafy greens.
- Seaweed Extract Fertilizer: A water-soluble fertilizer that boosts plant growth, protects against transplant shock, and strengthens roots.
- Planter Pot: Kale plants should be planted in a pot at least 12 inches in diameter and 8 inches deep with good drainage.
- Indoor Grow Lights: Strong indoor grow lights ensure that your plants receive enough sunlight and enable you to grow healthy kale plants anywhere in the home.
Growing Kale In Pots
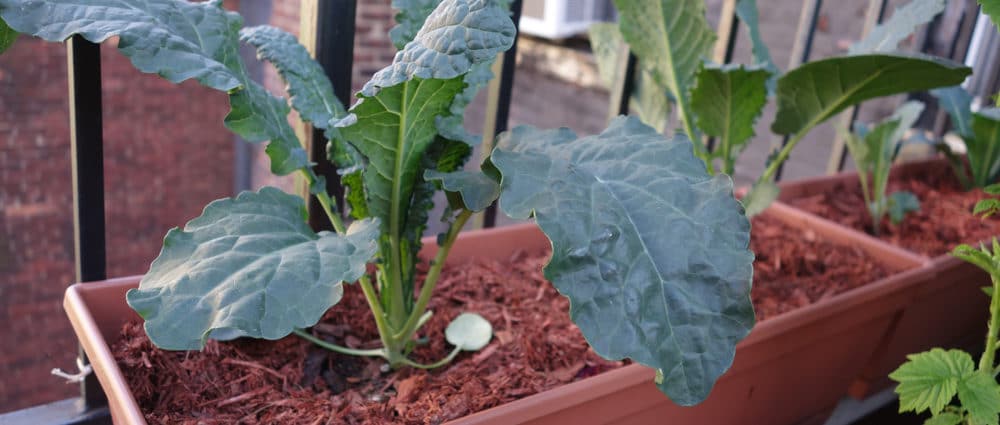
With its shallow roots and quick time to harvest, kale is an ideal plant to grow in containers and raised garden beds. Consistent watering, good drainage, fertile soil, and the right sized container are the keys to successfully growing kale in pots.
Tips for Growing Kale in Containers:
Choose "Container Friendly" Types of Kale:
The best kale for container planting includes varieties such as baby kale seed blends, container kale blends, dwarf blue kale, Siberian, and scarlet kale.
Get a Well-Draining Planter & Potting Soil:
Mature kale plants should be grown in a large container that is 12 inches in diameter and 8-12 inches deep. Kale plants enjoy consistently moist soil; however, too much moisture can cause root rot which can weaken and kill the plant. To avoid this, use a high-quality potting soil mix and select a container with good drainage
Water Consistently:
Containers are prone to drying out quickly, so make sure that your kale plants are getting adequate water. Check soil moisture regularly and water as needed. Consider using an automatic watering tool and adding a thick layer of mulch around the plant to maintain moisture.
Fertilize Regularly:
As you water your kale plants in containers, nutrients from the soil are drained out over time along with excess water. This greatly changes the pH and nutrient density of your container soil. To combat this, add aged compost to your potting soil periodically, add a teaspoon of nitrogen-rich fertilizer twice per month, and occasionally water your plants with a diluted kelp extract.
- Kale Fertilizer: Nitrogen-rich blood meal fertilizer to boost the growth of leafy greens.
- Seaweed Extract Fertilizer: A water-soluble fertilizer that boosts plant growth, protects against transplant shock, and strengthens roots.
- Planter Pot: Kale plants should be planted in a pot at least 12 inches in diameter and 8 inches deep with good drainage.
- Plant Caddy: A container stand with wheels allows you to move your kale plants to different locations for better sunlight.
- Automatic Watering Tool: An inexpensive tool that lets you automatically water your kale plants for up to 4 days.
Types of Kale & Best Kale Seeds
Kale plants come in a dazzling variety of different sizes, colors, textures, and flavors. Heirloom kale varieties include Toscano, Lacinato, Red Russian, Curly & Dwarf Curly, Siberian, Scarlet, and Black Magic; however, dozens of new hybrid varieties have been created to keep up with kale’s popularity. If you are looking to add kale to your garden, start with some of these high-quality kale seeds:
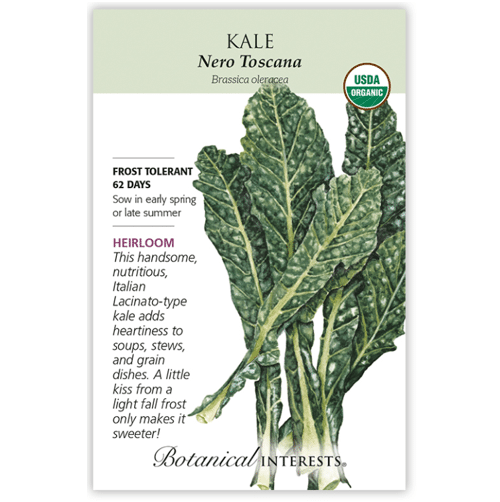
Nero Tuscana Kale Seeds
USDA Organic & Heirloom
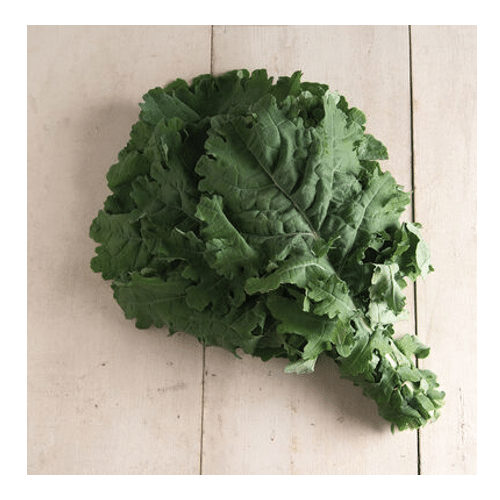
Also known as "dino kale" or black tuscan kale, Tuscan kale plants produce delicious dark green leaves and can grow to heights over 5ft tall. These hardy leaves are perfect for making kale chips and adding to soups, stews, and casseroles. Nero Toscana kale matures in 62 days and can tolerate mild to moderate frosts.
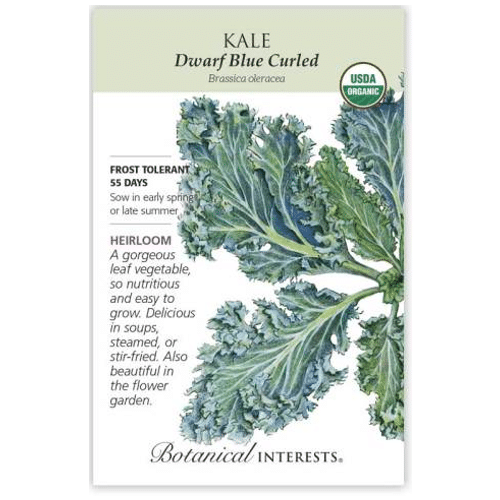
Dwarf Blue Curled Kale Seeds
USDA Organic & Heirloom
An extremely cold-tolerant variety of kale that’s perfect for winter harvesting. This plant can grow to 12"-30" inches tall and produces beautiful curly leaves with blue-green hue. A great kale variety to grow in containers. Dwarf blue kale will mature in 55 days and be ready for baby green harvest in 30 days.
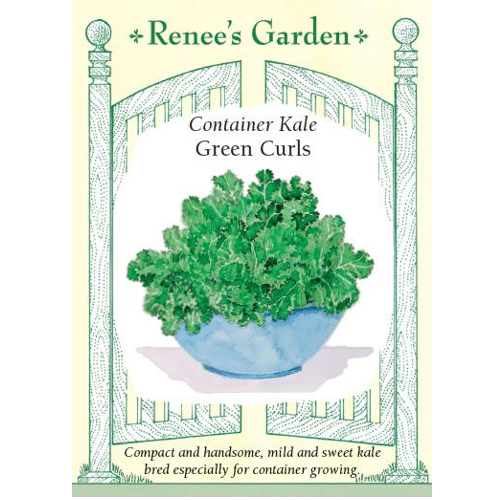
Green Curls Container Kale
Hybrid
Hybrid kale variety. Container kale is a pint-sized variety of kale designed to be grown in containers. The plant maxes out at 15 inches tall and produces bite-sized curly green leaves with almost no hard stems. These leaves are tender enough to be eaten fresh or added to salads, smoothies, and stews. These hybrid kale seeds sprout in 7-10 days reach maturity in 50 days from germination.
Redbor Kale Seeds
Hybrid
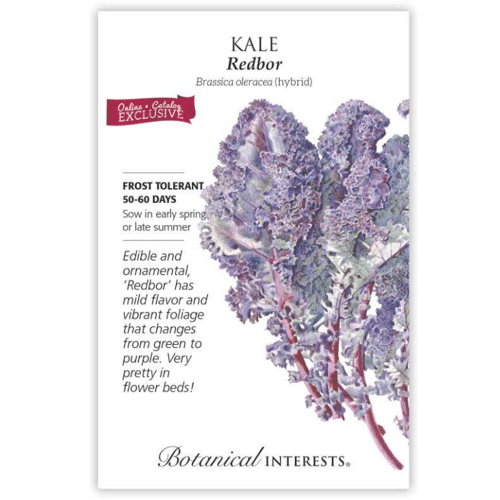
Redbor is one of the most cold-tolerant kale varieties (capable of withstanding a hard freeze) and is the best option for outdoor winter growing. This hybrid variety has a beautiful reddish/purple hue and can double as an ornamental for indoor and outdoor gardens. Plant grows to 1-2ft in height. This is a fast growing kale plant that reaches maturity in 50-60 days.
Tuscan Baby Leaf Kale Seeds
Heirloom
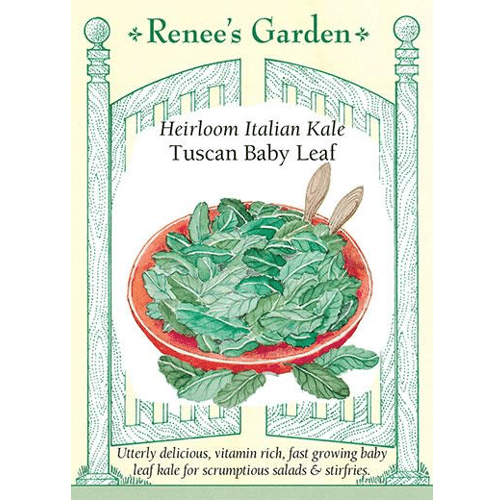
A fast-growing variety of kale that's perfect for baby leaf harvests in just 25 days. Can be grown in containers, windowsill gardens, or raised garden beds for easy harvesting. Baby tuscan kale leaves are much more tender than their mature versions and are best enjoyed in salads and smoothies. Can begin harvesting when plants are 4 inches tall.
Red Russian Kale Seeds
USDA Organic
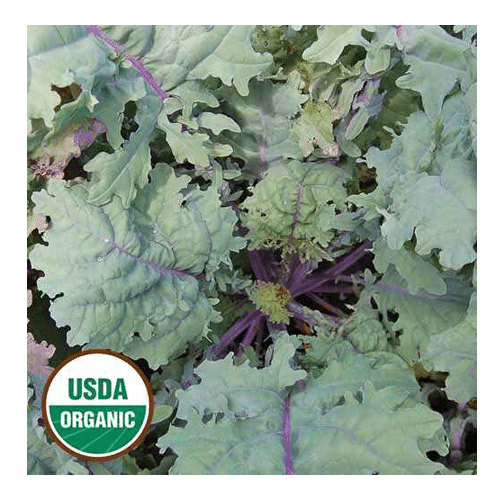
A beautiful kale variety that has flat and frilly leaves with dark purple veins and stems. Very cold hardy up to -10°F, so this makes an excellent winter variety of kale in many climates. Sweet and crunchy mature leaves can be harvested 50-60 days after transplanting. It's a medium-sized plant (1-3ft tall) that can be planted in the garden or in containers.
White Russian Kale Seeds
Organic
White Russian kale produces big leafy greens with light frills around the edges. Frost tolerant and fast-maturing in 50 days, this kale is ideal for late-season gardens. Can be harvested as baby and mature leaves. Its leaves are more tender than Lacinato kale and works best in smoothies, salads, and low-heat recipes. White Russian kale gets its name from its white petioles.
Siberian Kale Seeds
Organic
A beautiful kale variety with deliciously sweet and tender leaves. Although not as popular as tuscan and curly kale, Siberian kale is a classic kale variety that is the most delicious when eaten raw. Matures in 60 days, grows to about 1-3ft tall, and works great in salads or eaten fresh from the garden. Siberian kale is not as cold hardy as other varieties.
Ironman Baby Kale Seed Mix
Organic
The only thing better than a baby kale salad is a mixed baby kale salad! Made from a variety of kale including lacinato, Russian, and green curly, this baby kale salad mix was designed to have a big taste and plenty of texture. This mix is ready to harvest in just 30 days and can be used in salads, smoothies, stir-fries, or enjoyed raw fresh from the garden.
Best Kale Companion Plants
While kale doesn’t necessarily need companion plants to thrive, there are definitely some plants that help kale more than others. The best companion plants for kale are plants that will repel kale pests, attract predators that eat kale pests, plants that add nitrogen to the soil, and plants that act as cover crops to help keep the soil moist.
Companion plants that help to repel kale pests include herbs, onions and alliums, nasturtiums, and marigolds. Companions like cilantro, dill, and buckwheat help to attract bugs that eat aphids and other pests. Beans and peas are “nitrogen fixers” which help kale plants to develop big healthy leaves by adding nitrogen back to the soil; however, beans also attract certain kale pests and should be companion planted with kale sparingly. Other plants that are helpful to kale include beets, celery, cucumbers, spinach, and potatoes.
Do not plant kale next to other brassicas like cabbage, brussels sprouts, broccoli, cauliflower, and mustards as they will compete for the same nutrients. Strawberries will hinder the growth of kale and other brassicas when closely planted. Additionally, avoid plants that attract pests to your kale plants such as tomatoes.
Kale Pests & Diseases
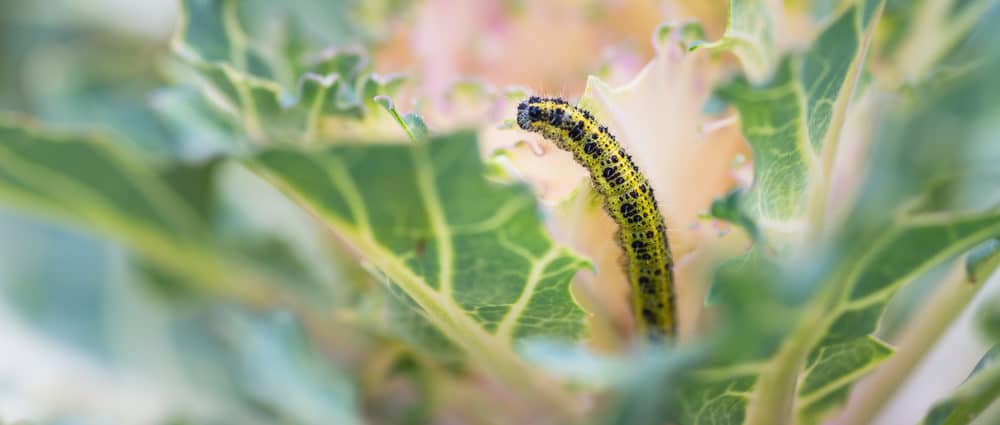
There are many insects that can wreak havoc on kale plants if not effectively managed. Apparently, humans aren’t the only ones who love the taste of kale! The best defense against garden pests are healthy, well-cared for plants. The stronger the plant, the less likely it is to succumb to infestations and diseases. A strong kale plant is one that is planted in fertile soil, is watered regularly, and is grown in a clean, well-mulched environment that is free of dead foliage. Nevertheless, you are bound to encounter pests when growing plants outside. Here are the most common kale pests and how to handle them:
| Pest | Problem | Solution |
|---|---|---|
| Aphids | Small insects that suck nutrients from plants. | Plant mint, catnip, and basil companion plants. Try neem oil spray or soapy water on plant. |
| Harlequin Bugs | Brightly colored bugs that drink sap from plants. | Hand removal, row covers, and neem oil. Companion plants such as celery, basil, garlic, and rosemary. |
| Flea Beetles | Beetles chew small holes in plant leaves. | Plant basil, carrots, and parsley companion plants, use row covers after transplanting, sprinkle plants with diatomaceous earth. |
| Cabbage Worm | Worms that eat young plants leaves. | Physically remove worms or spray plants with bacillus thuringiensis kurstaki (BTK) insecticide. |
| White Flies | Small insects suck nutrients from plants. | Trap flies with sticky paper, physically remove by spraying water, spray with soapy water. |
- Neem Oil: Can be used to fight aphids and harlequin bugs.
- Row Covers: Protective plant covers that physically prevent pests from getting to kale plants while letting in sunlight.
- Btk Insecticide: Fights cabbage worms.
- Diatomaceous Earth: Fights flea beetles and other insects that are found at the soil level.
How to Harvest Kale Plants
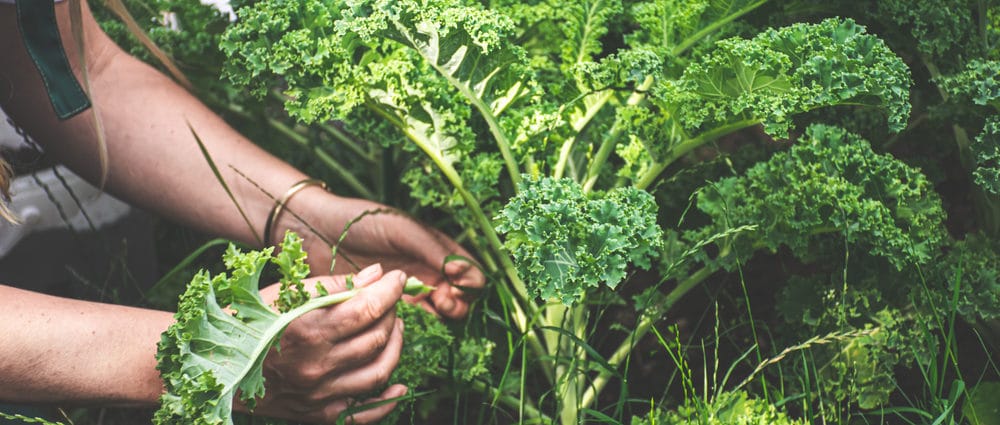
Kale is a wonderfully versatile plant that produces delicious harvests at every stage of its development. From microgreens to giant leafy greens, kale plants are almost always ready to harvest. Most kale plants will reach maturity within 60-80 days of planting; however, you don’t have to wait that long to begin harvesting your kale.
Kale is a “cut and come again” plant which means that it will continue to produce new leaves after each cutting. This means, you can harvest baby leaves from young plants and bigger leaves from mature plants without killing the plant. Just be sure to leave at least 4 leaves at the top/center of the plant to encourage new growth.
Tips for Harvesting Kale:
Harvest Lower Leaves First:
The lower-most leaves of the kale plant are typically the most mature and ready to harvest.
Snap Leaves Off at the Stem:
Prevent damage to your kale plants during harvest by snapping or cutting kale leaves close to the stem. Avoid harvesting only the leaves as this will leave a dead stem on the plant which could cause disease.
Avoid the "Terminal Bud":
To encourage your kale to continue growing after each harvest, be sure not to remove the top-center leaf buds (called the terminal bud). Kale can be aggressively harvested and will continue to grow so long as the terminal bud remains intact.
Harvest After Cool Weather:
Kale leaves become sweeter after being exposed to cold frosty temperatures. If possible, harvest kale after cold chills or frosts for the best tasting leaves.
Storing and Preserving Kale
Healthy kale plants will provide copious and continuous harvests of fresh leafy greens. Luckily, It is quite easy to store and preserve your abundant kale for future use.
Storing Fresh Kale:
Wrap a bundle of kale leaves in a moist paper towel and store in a storage bag in the refrigerator. This will keep the leaves crispy and fresh for about a week.
Freezing Kale:
Freezing kale can preserve your harvest for over a year. First, wash and thoroughly dry your kale. Then, chop the leaves into your desired size, place into a freezer bag, and keep frozen for later use. Frozen kale super flexible and makes a great addition to smoothies, soups, stews, casseroles, omelets, and much more.
Dehydrated Kale Powder:
Dehydrated kale powder is a unique and fun way to store kale long-term. To dehydrate, simply wash and thoroughly dry your kale before placing in a dehydrator or oven set to 125 degrees for 6 hours. Kale leaves are fully dehydrated when they are super crispy and can be easily crunched with your fingers. Grind the kale leaves into a powder using anything from a food processor to a pestle and mortar. Store in an air-tight container in a cool, dry place. Kale powder can be used as a nutritious boost to smoothies, sauces, soups, eggs, and anything else you can dream up.
Frequently Asked Questions About Growing Kale
How Long Does it Take to Grow Kale?
Kale seeds will sprout within 5-10 days of planting and mature in 50-70 days depending on the variety.
